 Posted by

Introduction
Stereo width is one of those things you notice the moment it is missing. A narrow mix sounds small and flat, while a wide mix sounds open and expensive, with instruments spread across the space between your speakers. iZotope Ozone Imager is a free plug-in that gives you that control. It can narrow a stereo image that is too wide, widen a track that feels cramped, and show you exactly what is happening with a built-in vectorscope, all in a small, clean interface.
This guide explains what Ozone Imager is, how its width and Stereoize controls work, what your PC needs to run it, and how to download and install it from the official iZotope website only. You will also get a first-use walkthrough that widens a pad and tightens a bass, so you can hear the difference in a real mix. By the end, you should be able to use Ozone Imager safely, including the mono check that keeps your widened mixes from falling apart on phones and smart speakers.
Ozone Imager is best for producers who want wider mixes without buying a mastering suite, for beginners learning what stereo imaging actually means, and for anyone finishing songs who needs a final width check. Because it is free and legitimate, you do not need a cracked copy or an unknown download site. The official website provides it free of charge, and the free plug-in is a real, permanent tool, not a short trial.
What Is iZotope Ozone Imager?
iZotope Ozone Imager is a free stereo imaging plug-in for Windows and Mac, from iZotope, the company behind the Ozone mastering suite. In simple terms, it is a tool that runs inside your DAW as an effect plug-in, and it controls how wide or narrow a sound feels in the stereo field. It is a standalone version of the Imager module from Ozone, offered free so that anyone can use one of Ozone’s most useful tools without buying the full suite.
The plug-in has two main jobs. First, the Width control narrows or widens the stereo image of whatever you put it on. Turn it down and a wide sound collapses towards mono; turn it up and the sides get louder relative to the centre, so the sound spreads wider. Second, the Stereoize modes add width to sounds that have little stereo information to begin with, such as a mono synth or a narrow recording, by creating stereo differences where there were none. The newer Stereoize mode gives a smoother result than the original, and both are useful in different situations.
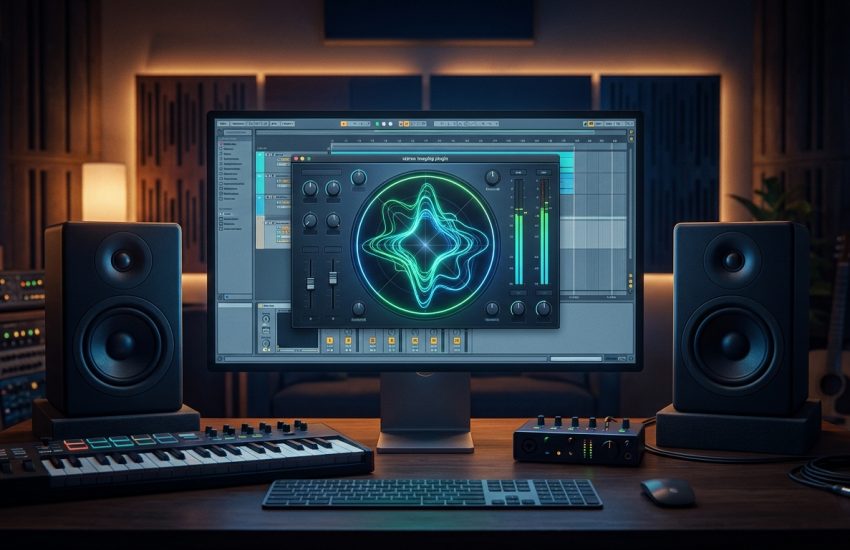
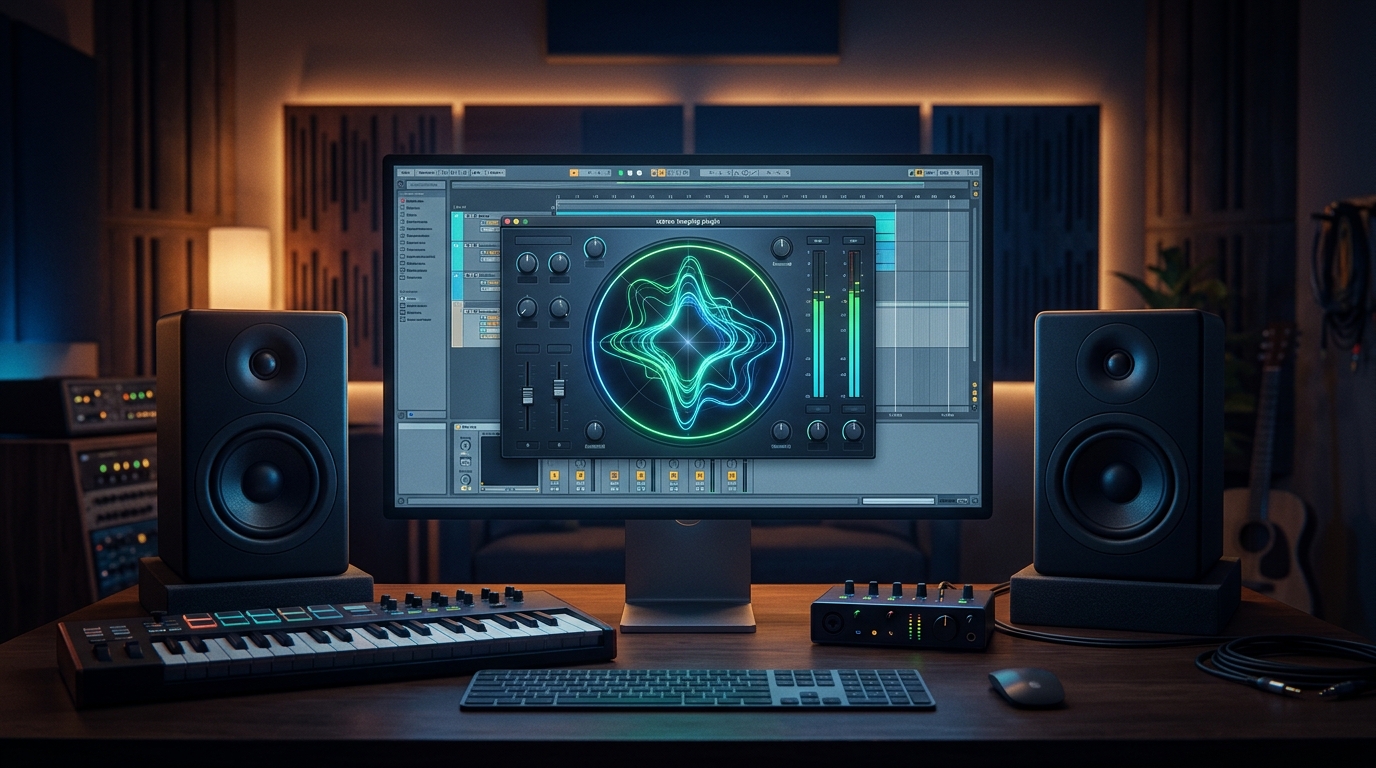
What makes Ozone Imager stand out from simpler wideners is its display. The built-in vectorscope shows the stereo image as a moving shape, so you can see width instead of guessing at it. It also offers different vectorscope views, including a polar display, and the interface is fully resizable, so it stays readable on any screen. The plug-in is available in AU, AAX, VST2 and VST3 formats, all 64-bit only, and it works in most major DAWs.
Key Features
- Free stereo imaging: a free plug-in from iZotope that gives you professional stereo width control without buying the Ozone mastering suite.
- Width control: narrow an overly wide track towards mono, or widen a cramped track, with a single smooth control.
- Two Stereoize modes: add stereo width to mono or narrow sources, with a newer, smoother Stereoize mode alongside the original.
- Built-in vectorscope: see the stereo image as a moving shape, with different views including a polar display, so width decisions are visual as well as audible.
- Fully resizable interface: the window resizes cleanly, with immersive, fluid visuals that stay readable on small laptop screens and large monitors alike.
- Mono-safe workflow: narrowing towards mono lets you check that a mix still works on phones, smart speakers and other mono playback systems.
- Included in every version of Ozone: the same Imager is part of the paid Ozone Standard and Advanced editions, so learning the free plug-in teaches you a real mastering tool.
- VST2, VST3, AU and AAX formats: the plug-in runs in most major DAWs on Windows and Mac, in 64-bit only.
System Requirements
- Operating System: Windows 10 or Windows 11, 64-bit
- Processor: Any modern multi-core processor; stereo imaging is light work, so even a modest CPU handles it easily
- Memory: 4 GB of RAM minimum, 8 GB or more recommended for larger projects with many tracks and plug-ins
- Storage: Around 200 MB of free disk space for the plug-in and its installer
- DAW: Any DAW that supports VST2, VST3 or AAX plug-ins on Windows, such as Reaper, FL Studio, Ableton Live, Cubase, Studio One or Pro Tools
- Other: A stable internet connection for the download and installation, and speakers or headphones to hear the stereo width working
These are practical, modern Windows guidelines, not a word-for-word copy of an official specification table. Stereo imaging is one of the lightest jobs a plug-in can do, so Ozone Imager will run comfortably on almost any PC that can run a DAW. Your DAW and your project size matter far more than this plug-in ever will.
How to Download iZotope Ozone Imager (Official Method)
The only safe place to download Ozone Imager is the official iZotope website. Do not download it from random file mirrors or “free download” portals, because those copies may be outdated or bundled with unwanted software. The official product page is the source of truth for the current version.
Official download link: https://www.izotope.com/en/products/ozone-imager.html
On the official product page you will see that Ozone Imager is listed as a free plug-in, priced at 0.00 USD, and available as a free download. iZotope delivers its plug-ins through its Product Portal or Native Access installer, so after claiming the free plug-in on the website, you install it through the installer app, which handles the download and activation. If a site asks you to pay for Ozone Imager, or offers a “cracked” or “premium” version of it, leave that site and return to the official iZotope page.
Step-by-Step Installation
- Open the official iZotope Ozone Imager page linked above in your browser and confirm that the plug-in is listed as free. Claim or add the free plug-in to your iZotope account, creating a free account if you do not already have one.
- Download the iZotope installer app (Product Portal or Native Access) from the official site, as directed on the product page, and save it to your Downloads folder.
- Run the installer app by double-clicking the downloaded file. If Windows SmartScreen asks about the program, check that you downloaded it from izotope.com, then allow it to run.
- Sign in to the installer app with the same free iZotope account you used on the website, then find Ozone Imager in your available products list.
- Install Ozone Imager from inside the installer app and wait for the download and installation to finish. The installer places the VST3 and other plug-in formats in the standard locations for your DAW to find.
- Open your DAW and rescan your plug-ins if Ozone Imager does not appear at once, then look for it in your effects list under iZotope.
- Load it once on a track and check that the interface opens and the vectorscope moves when audio plays, which confirms the installation worked.
Tip: Before you widen anything, listen to your mix in mono first, using your DAW’s mono button or a utility plug-in. A mix that sounds good in mono will survive widening. A mix that already has phase problems in mono will only get worse when you widen it, so fix the mono sound first and use Ozone Imager second.
First-Use Walkthrough: Widening a Pad and Tightening a Bass
The fastest way to learn Ozone Imager is to use it on two opposite jobs. Start with a pad, a synth chord or a background texture that feels narrow and buried. Load Ozone Imager on that track, open the plug-in, and watch the vectorscope while the track plays. The shape will look thin and vertical, which means most of the sound is in the centre. Slowly turn the Width control up and watch the shape spread wider. Stop when the pad feels open and spacious but still clear; if it starts to sound hollow or washy, you have gone too far, so pull the Width back a little.
Now try Stereoize on a mono source, such as a mono synth lead or a narrow recording. With the Width control near its normal position, switch on a Stereoize mode and listen. The sound should gain a sense of space without changing its tone much. Compare the two Stereoize modes and keep the one that sounds smoother on your source. This is how you rescue a dull mono sound and give it a place in a wide mix.
Then do the opposite job: load Ozone Imager on a bass track or a low-frequency sound and turn the Width down towards mono. Low frequencies should stay in the centre of a mix, because wide bass causes phase problems and weakens the low end on many playback systems. Narrowing the bass is one of the most useful things Ozone Imager does, and it is a habit that improves almost every mix. Finally, put Ozone Imager on your master bus, set the Width to neutral, and use the vectorscope as a meter while the whole song plays, just to see how wide your mix already is before you change anything.
Is iZotope Ozone Imager Free?
Yes. Ozone Imager is completely free to download and use, listed at 0.00 USD on the official iZotope website, for personal and commercial projects, with no trial period, no watermark and no feature locked behind payment. It is a free sampling of what the paid Ozone mastering suite offers, and it stays fully usable after installation.
That does not mean everything iZotope makes is free. The full Ozone Standard and Advanced editions are paid products, with many more modules and features, and other iZotope plug-ins have their own prices. Ozone Imager itself, however, is free, and you should never pay for it. If a site tries to sell you Ozone Imager, or offers a “cracked” version, it is not the official product, and you should return to the iZotope website.
Ozone Imager is also one of several free plug-ins iZotope gives away, alongside tools such as Vinyl, Vocal Doubler and Trash Lite. If you like the free Imager, those are worth a look too, and they are all available from the same official site.
Frequently Asked Questions
Is iZotope Ozone Imager safe to download?
Yes, as long as you download it from the official iZotope website linked in this guide and install it through iZotope’s own installer app. Avoid third-party download sites that bundle installers or ask for extra software, because those are not the official distribution.
What does the Width control do?
It controls how wide or narrow a sound feels in the stereo field. Turning it down moves the sound towards mono, and turning it up makes the sides louder relative to the centre, so the sound spreads wider.
What is Stereoize?
Stereoize is a mode that adds stereo width to sounds with little or no stereo information, such as mono recordings. It creates stereo differences where there were none, and the newer Stereoize mode gives a smoother result than the original.
Will widening my mix cause problems on phones?
It can, if you widen too far. Very wide mixes can lose volume or sound hollow when played back in mono, which is how many phones and smart speakers play audio. Check your mix in mono after widening, and pull the width back if the sound thins out or disappears.
Does Ozone Imager work in my DAW?
In most cases, yes. Ozone Imager is available as AU, AAX, VST2 and VST3, all 64-bit only, and it loads in major DAWs such as Reaper, FL Studio, Ableton Live, Cubase, Studio One and Pro Tools. After installing, rescan your plug-ins if it does not appear at once.
Do I need a powerful PC to run Ozone Imager?
No. Stereo imaging is light work for a CPU, and Ozone Imager will run comfortably on a normal modern Windows PC, even with several instances open at once.
Conclusion
iZotope Ozone Imager is a small, free plug-in that solves a big mixing problem: how wide should this sound be? Its Width control, Stereoize modes and vectorscope give you a clear, visual way to answer that question, track by track, and the mono-safe habits it encourages will improve your mixes even when you are not using it. Widen pads and textures, narrow the bass, and check the whole mix in mono before you call it finished.
Download it only from the official iZotope website, install it through iZotope’s installer app, and start with one track at a time. Once you can see width on the vectorscope and hear it in your speakers, you will wonder how you mixed without it.
Official download link: https://www.izotope.com/en/products/ozone-imager.html
Related Guides
- iZotope Vinyl for PC: How to Download & Install on Windows
- Valhalla SpaceModulator for PC: How to Download & Install on Windows