 Posted by

If you have ever played a game and stopped just to look at the scenery — sunlight breaking through trees, water rippling in a river, snow in a frozen forest — there is a good chance the engine behind that moment was CryEngine. Developed by the German studio Crytek, CryEngine powered the original Far Cry, the Crysis series and Hunt: Showdown, and it built a reputation as one of the most visually impressive game engines ever made. For years it was a tool for big studios only, but today anyone with a Windows PC can download it and start building with the same technology.
CryEngine is not a simple 3D renderer or a modelling program. It is a complete game engine: a real-time 3D renderer, a level editor, physics, artificial intelligence, audio tools and animation systems, all in one package. That makes it far more powerful than a standalone renderer, and also far more demanding to learn. If you want to build games or interactive 3D worlds, CryEngine gives you professional-grade tools for free.
This guide explains what CryEngine is, how to download it from the official Crytek website only, how to install it on Windows, and how to build your first simple 3D scene. It also explains the licensing honestly, because CryEngine is free to download but not free of conditions: a royalty applies once your shipped game starts earning real money.
What Is CryEngine?
CryEngine is a real-time 3D game engine developed by Crytek in Frankfurt, Germany. The first version powered Far Cry in 2004, and the engine became famous with Crysis in 2007, a game so demanding that “Can it run Crysis?” became a running joke about PC hardware for years. It has since been used for first-person shooters, hunting games, and even architectural visualisation.
Unlike an offline renderer, which slowly calculates one photorealistic image, CryEngine renders a living world in real time. You move through the scene while it is running, light changes as you adjust the sun, water flows and trees sway. That is the whole point of a game engine: the world has to respond instantly to the player, instead of taking minutes per frame.
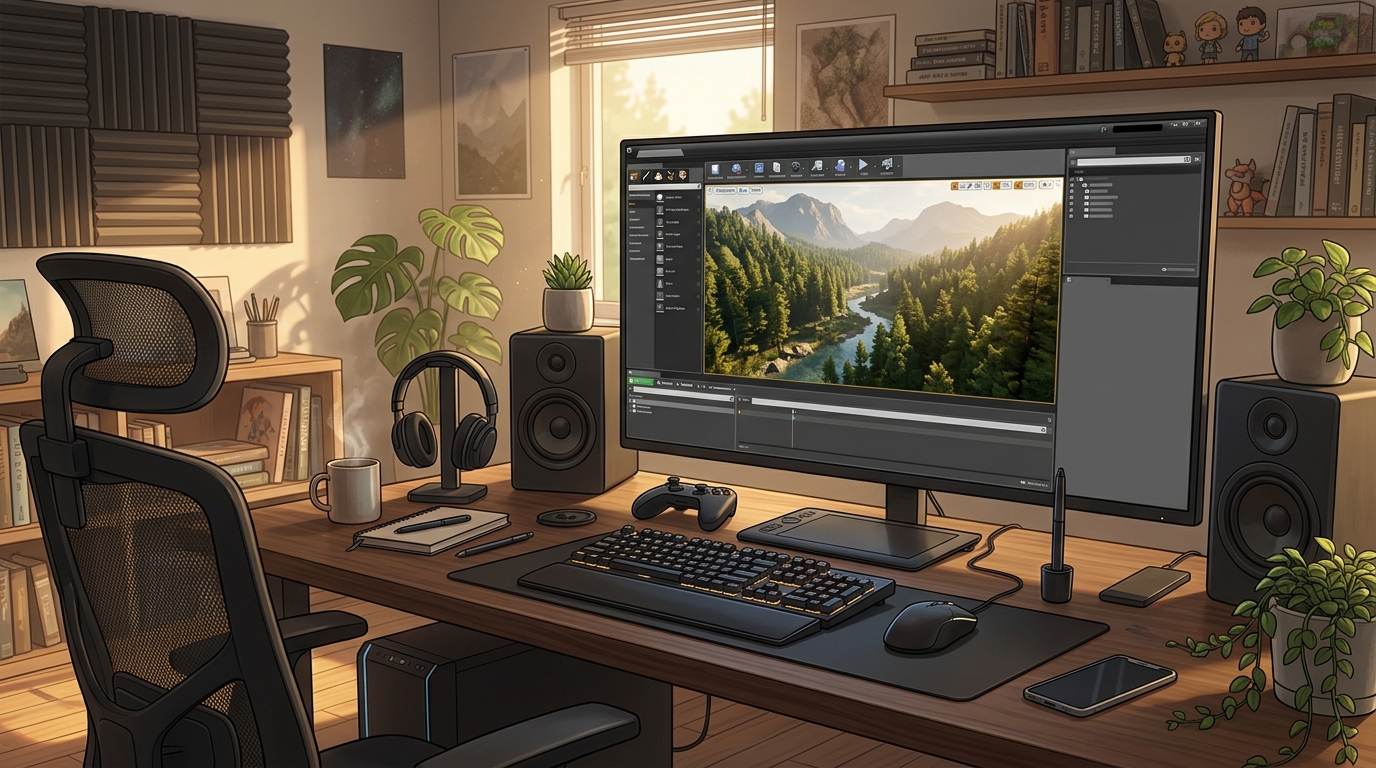
At the centre of CryEngine is the Sandbox Editor. This is where you build levels: sculpt terrain, paint vegetation, place buildings and props, set up lighting and weather, and test the result by pressing a button and walking through it immediately. The editor uses a “what you see is what you play” approach, so the level you are editing is the level you play. Around the editor sit the engine’s other systems: physics for collisions and destruction, artificial intelligence for enemies and wildlife, audio for ambient sound and effects, and a visual scripting system called Schematyc that lets you build gameplay logic without writing code.
CryEngine is written in C++, and the full engine source code is available on GitHub, so advanced users can study how it works and even modify it. Most beginners will never need the source code.
The current stable release is CRYENGINE 5.7 LTS. That means it receives stability fixes rather than constant feature changes, which is good news for beginners: tutorials written for 5.7 stay valid for a long time.
Key Features
- Photorealistic real-time rendering: CryEngine’s renderer produces detailed lighting, reflections, vegetation and terrain in real time, which is why its games became visual benchmarks.
- Sandbox Editor: A complete “what you see is what you play” level editor for sculpting terrain, placing objects, lighting scenes and testing gameplay instantly.
- Terrain and vegetation tools: Sculpt mountains and valleys, paint forests and grass, and create large natural landscapes with dedicated terrain and vegetation systems.
- Real-time global illumination: The engine calculates bounced light and soft shadows live, so scenes look natural without waiting for an offline render.
- Physics and destruction: Built-in physics handle collisions, ragdoll characters, destructible objects and vehicles, so worlds feel solid rather than hollow.
- Schematyc visual scripting: Build gameplay logic, triggers and interactions with a node-based visual scripting system, without writing C++ code.
- Artificial intelligence tools: AI systems for enemy behaviour, patrols, combat and wildlife, which is why the engine suits first-person games so well.
- Full source code access: The complete engine source code is available on GitHub, so advanced developers can study, extend and customise the engine.
System Requirements
Crytek does not publish a single simple minimum-specification table, so treat the figures below as practical, modern Windows guidance for the current stable release, not as a verbatim official specification.
- Operating System: Windows 10 or Windows 11, 64-bit. CryEngine is a 64-bit application and does not support 32-bit Windows.
- Processor: A modern multi-core processor. A quad-core CPU or better is recommended, especially for large levels with physics and AI.
- Memory: 16 GB of RAM is recommended for comfortable work, with more helpful for large scenes. Small test projects can run on less, but the editor and a running level together use a lot of memory.
- Graphics: A DirectX 11 or DirectX 12 compatible graphics card with at least 4 GB of video memory. A modern gaming GPU will give a much smoother experience in the editor and in play mode.
- Storage: At least 20 GB of free disk space for the engine, the editor, sample assets and your first project. The download itself is several gigabytes, and the full installation with source code is larger.
- Display: 1280 x 720 resolution or higher.
- Other: A stable internet connection, a Crytek account for the free registration, and administrator rights if your system asks for them.
In short, CryEngine will open on many modern PCs, but it is a heavy professional tool. A gaming PC with a dedicated graphics card and 16 GB of RAM will give you a far better experience than an old office laptop with integrated graphics.
How to Download CryEngine (Official Method)
CryEngine must be downloaded from Crytek’s official website. Do not use third-party download portals, torrent sites or “free full version” pages, because those are not official and may offer outdated, incomplete or tampered copies. The official site is the only safe source for the engine and its Launcher.
Official download link: https://www.cryengine.com/
On the official site, you will need to create a free Crytek account first. Registration is free and it is how Crytek manages engine access. Once you are registered and signed in, download the CRYENGINE Launcher, which is the small program that manages engine versions, downloads and updates for you. The engine itself is not downloaded as a single direct file from a download button; the Launcher is the official route, and it lets you choose which engine version to install, including the current stable 5.7 LTS release.
One practical note before you download: the engine is large. The download is several gigabytes, and a full installation with sample assets and source code can take considerably more disk space. Use a stable connection. You should not be asked for a serial number, an activation code or a payment at any point during the download.
Step-by-Step Installation
- Open the official CryEngine website linked above in your browser and create a free Crytek account, or sign in if you already have one.
- Download the CRYENGINE Launcher from the official site and save the installer to your Downloads folder.
- Run the Launcher installer by double-clicking the downloaded file. If Windows SmartScreen asks about the program, confirm that you downloaded it from cryengine.com, then allow it to run.
- Follow the installer prompts to choose an installation folder and complete the setup. The default folder is fine for most users.
- Open the CRYENGINE Launcher and sign in with the same Crytek account you used for registration, so the Launcher recognises your free access.
- Choose the engine version to install in the Launcher’s library, such as the current stable 5.7 LTS release, and start the download. This is the long step: the engine is several gigabytes, so let it finish without closing the Launcher.
- Wait for the installation to finish, then launch the Sandbox Editor from the Launcher. The first launch may take a moment while the editor loads its tools and default assets.
Tip: Keep the engine installed in one permanent location and do not move its folders after installation. The Launcher tracks the engine by its folder path, and moving it can break updates and project links. Create a desktop shortcut to the Launcher instead if you want quick access.
First-Use Walkthrough: Your First 3D Scene
When the Sandbox Editor first opens, you will see a large 3D viewport, toolbars, and panels for objects, layers and properties. It looks complicated because it is a professional tool, but your first scene only needs a few steps.
Start with a new project from one of the Launcher’s templates, which gives you a basic level with terrain, sky and lighting already set up. Look at the terrain first: use the terrain sculpting tool to raise a small hill and carve a shallow valley, then smooth the result. This single action teaches you more about the editor than any manual, because you can see the landscape change under your mouse in real time.
Next, add vegetation. Select the vegetation tool, choose a tree type, and paint a small cluster of trees on the hillside. Then adjust the sun and sky settings: move the sun lower and watch the whole scene turn warm and golden, then move it higher and watch it become bright and neutral. This is CryEngine’s real-time lighting at work, and it is the fastest way to make a scene look good.
Finally, place a simple object, such as a rock or a building prop, and press the button to enter game mode. You can now walk through the level you just built, with the same lighting, terrain and trees you placed. When you exit game mode, you are back in the editor and can change anything and test again. That loop — build, test, adjust — is the heart of working in CryEngine.
After your first scene, try one change at a time: add a water plane for a lake, change the weather to overcast, or use Schematyc to make a door open when you walk near it. Changing one thing at a time is the best way to learn a tool this large.
Is CryEngine Free?
Yes, with an important condition you should understand before you ship a game. CryEngine is free to download and free to use for development. There is no upfront fee, no subscription, and no licence key to buy before you can start building. The full engine, including the Sandbox Editor and the source code on GitHub, is available under Crytek’s royalty-based model.
The condition is a royalty on shipped games. If you release a game made with CryEngine and it earns money, Crytek charges a 5% royalty on the game’s gross receipts. The first $5,000 of revenue per game per year is royalty-free, so hobby projects, student work and small releases that earn little or nothing typically pay nothing at all. Royalties are calculated on gross receipts at source, which means they are based on the total money the game generates before any publisher or platform takes its cut. There are also exemptions, for example for pure work-for-hire compensation with no share in the game’s revenue.
You should also know two more things. First, the licence requires you to register your game with Crytek before commercial release, which is a straightforward part of the normal shipping steps. Second, developing non-gaming commercial applications with CryEngine, such as a product visualisation tool for a company, is not covered by the standard game licence and needs a separate written agreement with Crytek.
In short, CryEngine is genuinely free to learn and to build with, and it only starts costing money when your game starts earning money beyond the small royalty-free threshold. That is a fair deal for most independent developers, but it is not the same as “completely free with no conditions”, and you should read the licence agreement on the official site before you commit a commercial project to it.
Frequently Asked Questions
Is CryEngine safe to download?
Yes, if you download it from the official Crytek website and use the CRYENGINE Launcher. The official download contains the engine and the editor only. Avoid third-party sites that offer “cracked” versions, because those are not official and may bundle unwanted software.
Do I need to know C++ to use CryEngine?
No, not to start. You can build levels, sculpt terrain, place objects and set up lighting in the Sandbox Editor without writing any code, and you can build gameplay logic with the Schematyc visual scripting system. C++ is only needed for advanced customisation and for modifying the engine source code.
Is CryEngine good for beginners?
It is good for beginners who want to make games and are patient enough to learn a professional tool. It is not the best first choice if you want a quick, simple 3D program, because the editor has a steep learning curve and the engine expects a reasonably powerful PC.
Can I use CryEngine to make a game and sell it?
Yes. You can develop and ship a commercial game with CryEngine under the royalty-based licence. The first $5,000 of revenue per game per year is royalty-free, and after that a 5% royalty on gross receipts applies. Remember to register your game with Crytek before its commercial release, as the licence requires.
Is CryEngine still updated?
The current stable release is CRYENGINE 5.7 LTS, a long-term support version that receives stability fixes. Crytek continues to support the engine, and its source code remains available on GitHub, although its development pace is slower than that of some larger competitors.
Conclusion
CryEngine for PC is one of the most powerful free starting points for game development on Windows. Its real-time renderer, Sandbox Editor, terrain and vegetation tools, physics and visual scripting give you the same technology that powered Crysis and Hunt: Showdown, and the download itself costs nothing. The price only appears later, as a 5% royalty once your shipped game earns more than $5,000 in a year.
Download it only from Crytek, register a free account, install the CRYENGINE Launcher, and start with a small scene: a hill, some trees, a sun low in the sky, and a walk through your own level. If you learn the editor one tool at a time, CryEngine will teach you more about real game development than almost any other free engine available today.
Official download link: https://www.cryengine.com/
Related Guides
- LuxCoreRender for PC: How to Download & Install on Windows
- Godot Engine for PC: How to Download & Install on Windows