 Posted by

Introduction
If you design products, cars, shoes or furniture, and you want to sketch your ideas at real size instead of on a flat screen, Gravity Sketch is the free tool built for that job. It is an immersive 3D design app from Gravity Sketch Limited that lets you sketch, surface and model in virtual reality, at one-to-one scale. The core creation tools are free for individual users, and the download from the official Gravity Sketch site is the complete free version.
This guide explains what Gravity Sketch is, what it can and cannot do, what your PC needs to run it, and how to download and install it from the official website only. You will also get a first-use walkthrough that takes you from installation to a working result in a few minutes. By the end, you should be able to install Gravity Sketch on Windows and use it in a real project.
Gravity Sketch is best for sketching product ideas in 3D, designing at real scale in VR, and collaborating on 3D concepts. Because it is free and legitimate, you do not need a cracked copy or an unknown download site. The official website provides the installer, and the free version is a real, permanent tool, not a short trial.
What Is Gravity Sketch?
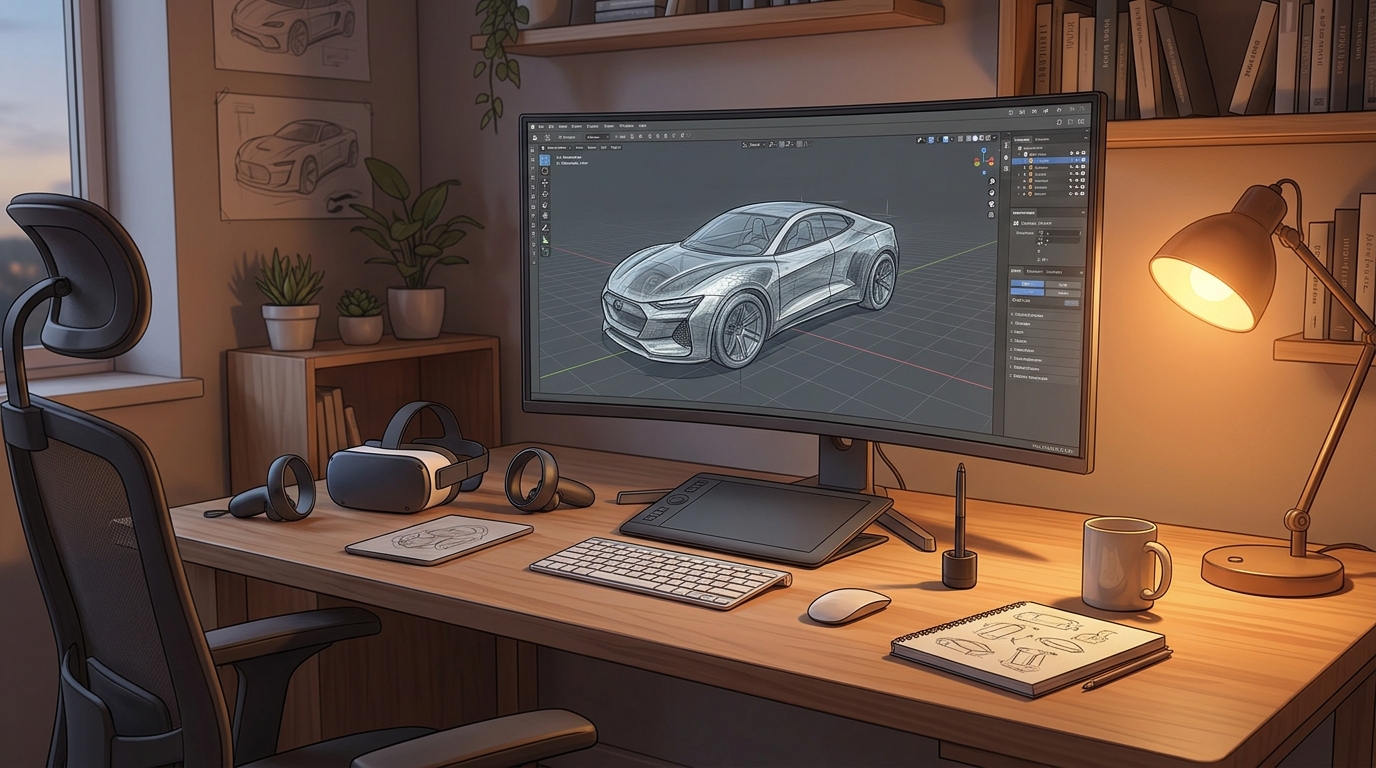
Gravity Sketch is a free immersive 3D design app for Windows, Meta Quest headsets and the web. In simple terms, it is a 3D workspace where you sketch curves in the air, turn them into surfaces, and build them into solid geometry, all in three dimensions, instead of drawing flat lines on a screen. You can design a product at its real size, check its proportions and ergonomics by walking around it, and share the room with collaborators who join from VR or from a desktop screen.
What makes Gravity Sketch popular is its mix of freedom and precision. The core creation tools, sketching, surfacing and geometry, are free for individual users, with unlimited imports of OBJ and STL files, unlimited exports of OBJ and USDZ files, unlimited Rooms and collaboration with up to three people at once, plus 150 MB of cloud storage. Two honest notes: the free plan restricts some export formats, such as FBX and IGES, and some evaluation tools to the paid Plus and Business plans, and the full VR experience needs a Meta Quest headset or a PC VR headset through SteamVR.
Key Features
- Immersive 3D sketching: Sketch curves directly in 3D space, at real scale, instead of drawing flat lines on a screen.
- Surfacing and geometry tools: Turn sketches into surfaces and solid geometry, for product concepts you can evaluate properly.
- Works in VR and on screen: Use a VR headset for full immersion, or join rooms from a desktop screen to review and give feedback.
- Real-scale 1:1 design: Design at true size and walk around your model, to check proportions and ergonomics early.
- Collaboration Rooms: Share a Room with collaborators by link or code, and work on the same model together in real time.
- Import and export: Import OBJ and STL files freely, and export OBJ and USDZ files on the free plan, with more formats on paid plans.
- Reference model library: A free library of reference models and prefabs helps you start a design quickly.
- Free core tools for individuals: The core creation tools are free for individual users, with no trial and no time limit.
System Requirements
- Operating System: Windows 10 or Windows 11, 64-bit
- VR headset (optional): A Meta Quest 2, 3 or Pro, or a PC VR headset through SteamVR, for the full VR experience
- Processor: A modern dual-core processor or better
- RAM: At least 4 GB of RAM for basic use, 8 GB or more recommended for larger projects
- Storage: Around 1 GB of free disk space for the app
- Other: A stable internet connection for the download and for Rooms, and a free Gravity Sketch account
These are practical, modern Windows guidelines, not a word-for-word copy of an official specification table. The most important point is simple: Gravity Sketch is designed for normal Windows PCs, and a modest modern computer is enough to start.
How to Download Gravity Sketch (Official Method)
The only safe place to download Gravity Sketch is the official website. Do not download it from random file mirrors or “free download” portals, because those copies may be outdated or bundled with unwanted software. The official site is the source of truth for the current version.
Official download link: https://gravitysketch.com/
On the official Gravity Sketch website, choose the free version and download it from the app stores linked there, such as Steam for PC VR or the Meta Quest store for standalone headsets. There is no payment for the free version. You need a free Gravity Sketch account to sign in. If a site asks you to pay for the free version, or offers a cracked version of it, leave that site and return to the official Gravity Sketch page. A web app is also available from the official site for working in a browser.
Step-by-Step Installation
Follow these steps in order. Take your time with the install location and component choices, because those are the steps that most often cause problems later.
- Download from the official site — Open https://gravitysketch.com/ in your browser and choose the free version for your platform.
- Install the app — Download and install the app from Steam, the Meta Quest store or the desktop installer, and follow the on-screen prompts.
- Create a free account — Create a free Gravity Sketch account, or sign in if you already have one. The account itself is free.
- Open Gravity Sketch — Launch the app from the Start menu, or put on your headset and open it from your library.
- Confirm the first launch — Gravity Sketch opens with a welcome room and its sketching tools. Click through any welcome screens.
- Try the screen mode if you have no headset — If you have no VR headset, use the desktop screen mode to join a room and review designs.
- Create your first room — Create a new Room and confirm you can sketch a curve in 3D space.
Tip: You do not need a VR headset to start. The desktop screen mode lets you join Rooms, review designs and give feedback from your PC. For the full sketching experience, use a Meta Quest headset or a PC VR headset through SteamVR.
First-Use Walkthrough: Your First 3D Sketch
This walkthrough is a simple first project. It is not a full course, but it will help you see Gravity Sketch working on a real project and learn its main tools.
- Open Gravity Sketch and create a room — Launch the app, sign in, and create a new Room for your first design.
- Pick the sketch tool — Choose the sketching tool and a brush colour from the palette.
- Sketch a simple shape — Draw a simple shape in the air, such as the outline of a chair or a bottle, and look at it in 3D.
- Turn the sketch into a surface — Use the surfacing tool to fill your sketch curves and create a solid surface.
- Add geometry details — Add a few geometric details, such as a handle or a base, to make the design feel complete.
- Walk around your design — Move around the model at real scale and check its proportions from different sides.
- Export your design — Export the finished design as an OBJ file, and share the Room link with a friend for feedback.
Is Gravity Sketch Free?
Gravity Sketch is free for individual users, with the core creation tools included at no cost and no time limit. The free plan includes sketching, surfacing and geometry tools, unlimited imports of OBJ and STL files, unlimited exports of OBJ and USDZ files, unlimited Rooms and collaboration with up to three people at once, plus 150 MB of cloud storage. Paid Plus and Business plans add more export formats such as FBX and IGES, evaluation tools, more storage and organisation features. The free version is a real, permanent tool, not a short trial.
That free status is important for this guide. All the steps here use the official download only, and they do not involve cracks, activators or licence keys. If you ever see a site offering a paid or cracked version of the free program, treat it as unsafe and return to the official site.
Frequently Asked Questions
Is Gravity Sketch safe to download?
Yes, when you download it from the official website only. The official installer is the version made by the developer. Avoid third-party sites that bundle extra software or ask for payment for a free program.
Does Gravity Sketch work on my Windows PC?
Yes, in most cases. Gravity Sketch runs on Windows 10 and 11 (64-bit), and you can use the desktop screen mode without a VR headset. For the full VR experience you need a Meta Quest headset or a PC VR headset through SteamVR. Check the official site for the exact current version if your PC is older.
Is Gravity Sketch really free, or will it stop working?
The free version described in this guide is not a short trial. It stays usable after installation. Paid plans are optional and only add export formats and team features.
Do I need a powerful PC to run Gravity Sketch?
No, not for basic use. A modern Windows 10 or 11 PC with 4 GB of RAM or more can run it for simple projects. Larger projects with many objects and effects will benefit from more RAM and a faster processor, but you can start and learn on a normal home PC.
Conclusion
Gravity Sketch is a useful, free addition to a Windows setup because it is a free immersive 3D design app for sketching and modelling in virtual reality and on screen, and it can be downloaded safely from the official site. Start with a small first project, learn one tool at a time, and build from there.
To get started, download Gravity Sketch from the official website here: https://gravitysketch.com/ Install it with the steps above, test it once, and then use it in your next project. With a little practice, it can become a regular part of your workflow.
Official download link: https://gravitysketch.com/
Related Guides
- SketchUp Free for PC: How to Download & Install on Windows
- Tinkercad for PC: How to Download & Install on Windows