 Posted by

Introduction
If you have ever wanted to turn a set of photos into a real 3D model, COLMAP is the free tool for the job. It is a free, open-source Structure-from-Motion and Multi-View Stereo pipeline from ETH Zurich that takes overlapping photos, works out where each photo was taken from, and rebuilds the object as a 3D model. There is no payment, no account and no licence key, and the pre-built Windows binaries come from the project’s own official installation page.
This guide explains what COLMAP is, what it can and cannot do, what your PC needs to run it, and how to download and install it from the official website only. You will also get a first-use walkthrough that takes you from installation to a working result in a few minutes. By the end, you should be able to install COLMAP on Windows and use it in a real project.
COLMAP is best for turning photos of objects, buildings and places into accurate 3D models, and learning photogrammetry. Because it is free and legitimate, you do not need a cracked copy or an unknown download site. The official website provides the pre-built binaries, and the free version is a real, permanent tool, not a short trial.
What Is COLMAP?
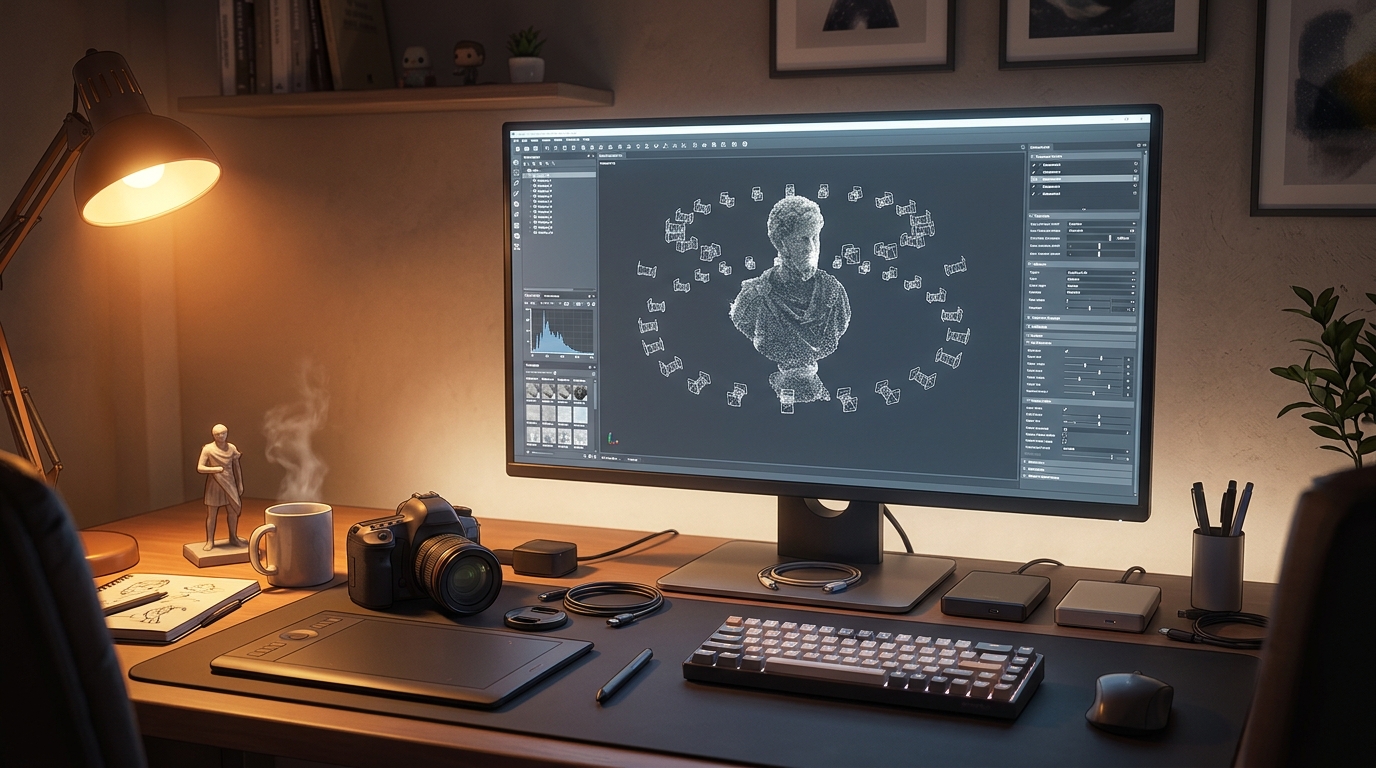
COLMAP is a free, open-source photogrammetry program. In simple terms, photogrammetry means building a 3D model from photographs: you take many photos of an object from different angles, and COLMAP finds the same points in different photos, calculates where the camera was for each shot, and then fills in the surface of the object. The result is a 3D model you can open in Blender, MeshLab or a game engine. COLMAP does this in two stages: Structure-from-Motion, which recovers the camera positions and a sparse point cloud, and Multi-View Stereo, which builds a dense point cloud and a textured surface from the same photos.
What makes COLMAP special is its accuracy and its reputation. It is one of the most widely used photogrammetry tools in computer vision research, and it is the standard first step in newer workflows such as 3D Gaussian splatting. It has both a graphical interface for beginners and a command-line interface for automated work, and it can also be used from Python through PyCOLMAP. One honest note: COLMAP is a technical tool, not a one-click app. It has no installer, you download a ZIP archive of pre-built binaries, and the binaries are not officially signed, so Windows Defender may warn you on the first run. An NVIDIA graphics card with CUDA makes processing much faster, but CPU-only mode works too, just more slowly.
Key Features
- Automatic camera calibration: COLMAP works out each photo’s camera position and lens settings automatically, with no manual calibration.
- Sparse reconstruction (SfM): Structure-from-Motion builds a sparse point cloud and recovers camera positions from your photo set.
- Dense reconstruction (MVS): Multi-View Stereo fills in the surface with a dense point cloud, so you get a detailed model, not just scattered points.
- Graphical and command-line interface: A graphical interface guides beginners, while the command line lets advanced users automate large jobs.
- GPU acceleration with CUDA: An NVIDIA GPU with CUDA speeds up feature matching and dense reconstruction dramatically.
- Exports to common formats: Export your model as PLY, OBJ or other formats, ready for Blender, MeshLab or a game engine.
- Python bindings (PyCOLMAP): PyCOLMAP lets you use most of COLMAP’s features from Python scripts for custom pipelines.
- Ordered and unordered photo sets: COLMAP handles photos taken in any order, from a phone, a drone or a regular camera, as long as they overlap.
System Requirements
- Operating System: Windows 10 or Windows 11, 64-bit
- Processor: A modern quad-core processor or better
- RAM: At least 8 GB of RAM for basic use, 16 GB or more recommended for large photo sets
- Storage: Around 1 GB of free disk space for the program, plus room for photos and reconstructions
- Graphics: An NVIDIA graphics card with CUDA 11 or newer is recommended for fast processing; CPU-only mode works but is much slower
- Other: A camera or phone for taking photos, and a stable internet connection for the download
These are practical, modern Windows guidelines, not a word-for-word copy of an official specification table. The most important point is simple: COLMAP is designed for normal Windows PCs, and a modest modern computer is enough to start.
How to Download COLMAP (Official Method)
The only safe place to download COLMAP is the official website. Do not download it from random file mirrors or “free download” portals, because those copies may be outdated or bundled with unwanted software. The official site is the source of truth for the current version.
Official download link: https://colmap.github.io/install.html
On the official COLMAP installation page, follow the link to the pre-built binaries hosted at demuc.de/colmap and download the Windows ZIP archive to your Downloads folder. The binaries are built automatically from the project’s own source code. There is no installer, no account and no payment involved at any point. Because the binaries are not officially signed, Windows Defender may show a security warning the first time you run COLMAP; that is expected and documented on the official page. If a site asks you to pay for COLMAP, or offers a cracked version of it, leave that site and return to the official COLMAP page.
Step-by-Step Installation
Follow these steps in order. COLMAP has no installer, so take your time with the folder you extract it to, because that folder is where the program lives.
- Download the Windows ZIP from the official install page — Open https://colmap.github.io/install.html in your browser, follow the pre-built binaries link to demuc.de/colmap, and download the Windows ZIP archive for COLMAP. Do not use third-party download sites.
- Extract the ZIP archive — Right-click the downloaded ZIP file and choose Extract All, then extract it to a short folder path such as C:\COLMAP, without spaces in the path.
- Open the extracted folder — Inside the extracted folder you will find COLMAP.bat and the colmap program files.
- Allow it through Windows Defender if asked — The first time you run COLMAP, Windows Defender may show a security warning because the binaries are not officially signed. Choose to run it anyway, since you downloaded it from the official source.
- Start the GUI with COLMAP.bat — Double-click COLMAP.bat to open the COLMAP graphical interface.
- Check the commands in a command prompt — Open a command prompt in the extracted folder and run COLMAP.bat -h to list the commands and confirm it works.
- Prepare a photo folder — Create a folder with 20 to 30 overlapping photos of one object, taken from every side.
Tip: Keep COLMAP in a short folder path such as C:\COLMAP, without spaces, because long paths with spaces can cause problems with the command-line tools. If Windows Defender blocks the first launch, allow it once, since the binaries are unsigned by design.
First-Use Walkthrough: Your First 3D Model from Photos
This walkthrough is a simple first project. It is not a full course, but it will help you see COLMAP working on a real project and learn its main tools.
- Take 20 to 30 overlapping photos — Walk around a small object, such as a statue or a toy, and take photos from every side, with each photo overlapping the previous one.
- Create a new project — Open COLMAP, create a new project, and point it at a new folder where the reconstruction will be saved.
- Import the photos — Add your photo folder to the project and let COLMAP read the camera data stored inside the images.
- Run feature extraction — Use the Reconstruction menu to extract features from all photos. This finds distinctive points in each image.
- Run feature matching — Match the extracted features across photos, so COLMAP learns which photos show the same points on the object.
- Run sparse reconstruction — Build the sparse point cloud and camera positions, then check the 3D view to see your object take shape as a cloud of points.
- Run dense reconstruction and export — Run the dense reconstruction to fill in the surface, then export the model as a PLY file and open it in Blender or MeshLab.
Is COLMAP Free?
COLMAP is free and open source under the new BSD licence. You download the pre-built binaries from the official installation page, use the program, and keep using it without paying and without a time limit. The licence allows personal and commercial use. There is no paid version of COLMAP itself, and no account is needed.
That free status is important for this guide. All the steps here use the official download only, and they do not involve cracks, activators or licence keys. If you ever see a site offering a paid or cracked version of the free program, treat it as unsafe and return to the official site.
Frequently Asked Questions
Is COLMAP safe to download?
Yes, when you download it from the official website only. The official pre-built binaries are built automatically from the project’s own source code. Avoid third-party sites that bundle extra software or ask for payment for a free program.
Does COLMAP work on my Windows PC?
Yes, in most cases. COLMAP runs on Windows 10 and 11 (64-bit), and the system requirements above cover a normal modern PC. Check the official site for the exact current version if your PC is older.
Is COLMAP really free, or will it stop working?
The free version described in this guide is not a short trial. It stays usable after installation, with no paid edition of COLMAP itself.
Do I need a powerful PC to run COLMAP?
No, not for basic use. A modern Windows 10 or 11 PC with 4 GB of RAM or more can run it for simple projects. Larger projects with many objects and effects will benefit from more RAM and a faster processor, but you can start and learn on a normal home PC.
Conclusion
COLMAP is a useful, free addition to a Windows setup because it is a free, open-source photogrammetry pipeline that turns ordinary photos into accurate 3D models, and it can be downloaded safely from the official site. Start with a small first project, learn one tool at a time, and build from there.
To get started, download COLMAP from the official website here: https://colmap.github.io/install.html Install it with the steps above, test it once, and then use it in your next project. With a little practice, it can become a regular part of your workflow.
Official download link: https://colmap.github.io/install.html
Related Guides
- Meshroom for PC: Download & Install on Windows (2026)
- Instant Meshes for PC: How to Download & Install on Windows