 Posted by

Introduction
If your tracks need EQ but a clean digital equalizer leaves them sounding flat, Voxengo Overtone GEQ is the free plugin that adds colour while it EQs. It is a free 7-band harmonic graphic equalizer from Voxengo that shapes the frequency balance like a normal EQ, and at the same time adds gentle harmonic overtones, so the track gains warmth and presence as you cut or boost. It is made for mix and sub-mix equalization, where a little harmonic character makes a track sit better. There is no payment, no account and no serial number, and the download from the official Voxengo site is the complete plugin.
This guide explains what Voxengo Overtone GEQ is, what it can and cannot do, what your PC needs to run it, and how to download and install it from the official website only. You will also get a first-use walkthrough that takes you from installation to a working result in a few minutes. By the end, you should be able to install Voxengo Overtone GEQ on Windows and use it in a real project.
Voxengo Overtone GEQ is best for mix and sub-mix equalization with harmonic enhancement, and warming up dull tracks. Because it is free and legitimate, you do not need a cracked copy or an unknown download site. The official website provides the installer, and the free version is a real, permanent tool, not a short trial.
What Is Voxengo Overtone GEQ?
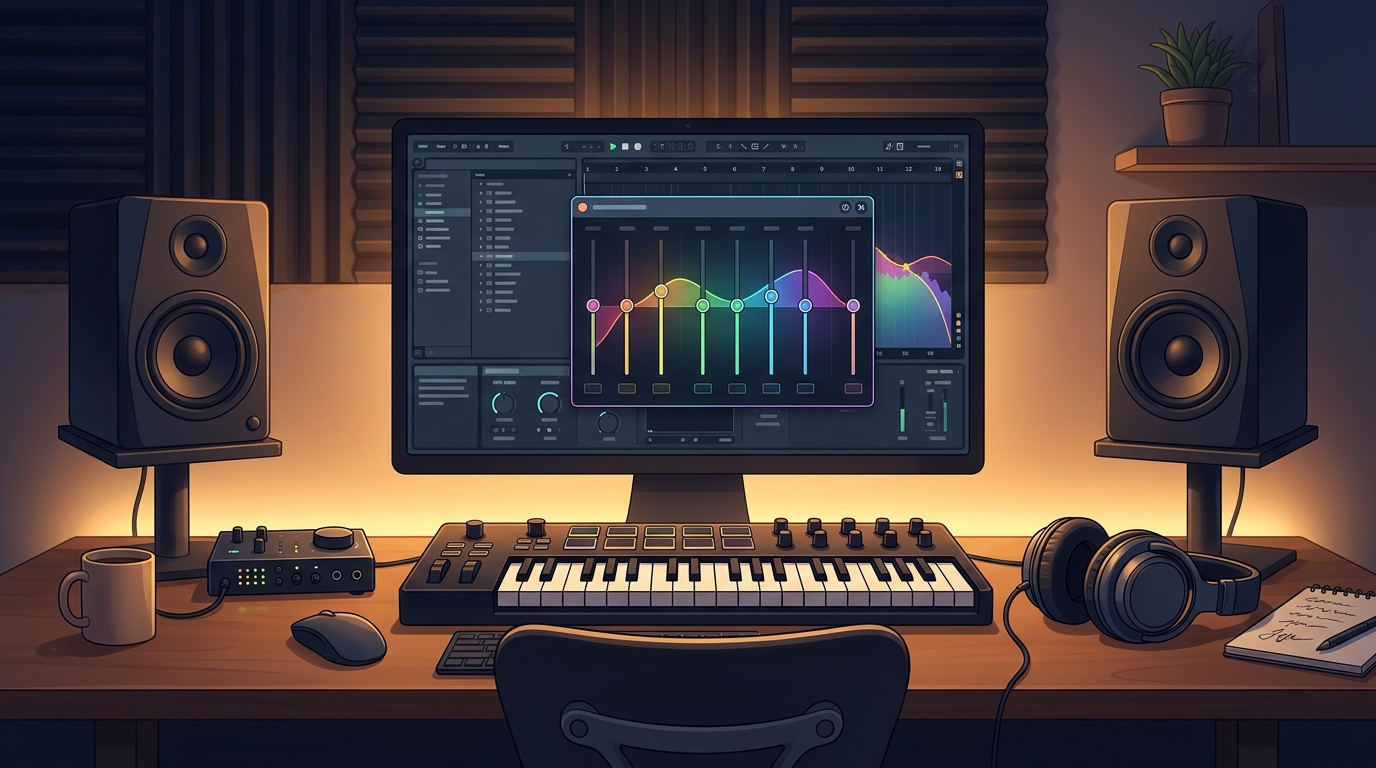
Voxengo Overtone GEQ is a free equalizer that runs inside your DAW on any audio track or bus. In simple terms, it is a plugin that lets you raise or lower seven frequency bands with sliders, like a graphic equalizer, and each band also adds harmonics related to the frequencies it touches, which is why it is called an overtone equalizer. The result is an EQ that does not just change the balance, it also adds a subtle richness that clean EQs do not have. You load it on a track, move a slider, and hear the tone change.
What makes Overtone GEQ useful is its routing and its range. It supports up to 8 channels with extensive internal channel routing and mid-side processing, so you can EQ the mid and side of a stereo signal separately, which is useful on a full mix. It also has a preset manager with undo and redo, a resizable interface and a clean, readable layout. One honest note: the harmonic colour is part of the sound, so if you want a completely transparent, surgical EQ for fixing a problem frequency, a clean linear-phase EQ is a better tool, while Overtone GEQ is the better choice when you want the EQ itself to add warmth. The current version is v1.19, released on 2 April 2026.
Key Features
- Seven harmonic bands: Seven bands shape the frequency balance and add gentle harmonic overtones at the same time.
- Harmonic enhancement: The overtone processing adds warmth and presence, so tracks sound richer as you EQ them.
- Mid-side processing: EQ the mid and side of a stereo signal separately, which is useful on a full mix.
- Multi-channel support: Full multi-channel operation with flexible channel routing covers stereo and surround buses.
- Extensive channel routing: Internal channel routing lets you send different bands to different channels.
- Clean, readable layout: A clear graphic layout with sliders makes the EQ fast to use on any track.
- Preset manager and undo: A preset manager with undo and redo keeps your settings safe and easy to recall.
- Freeware from Voxengo: Voxengo offers Overtone GEQ as freeware, with no trial, no account and no payment needed.
System Requirements
- Operating System: Windows 10 or Windows 11, 64-bit
- Processor: A modern dual-core processor or better
- RAM: At least 4 GB of RAM for basic use
- Storage: Around 20 MB of free disk space for the installer
- DAW: Any DAW that supports VST, VST3, AU or AAX plugins on Windows, such as Reaper, FL Studio, Ableton Live, Cubase or Studio One
- Other: A stable internet connection for the download, and speakers or headphones to hear your mix
These are practical, modern Windows guidelines, not a word-for-word copy of an official specification table. The most important point is simple: Voxengo Overtone GEQ is designed for normal Windows PCs, and a modest modern computer is enough to start.
How to Download Voxengo Overtone GEQ (Official Method)
The only safe place to download Voxengo Overtone GEQ is the official website. Do not download it from random file mirrors or “free download” portals, because those copies may be outdated or bundled with unwanted software. The official site is the source of truth for the current version.
Official download link: https://www.voxengo.com/product/overtonegeq/
On the official Voxengo Overtone GEQ product page, choose the Windows version and download the installer file to your Downloads folder. There is no account, serial number or payment involved at any point. If a site asks you to pay for Overtone GEQ, or offers a cracked version of it, leave that site and return to the official Voxengo page.
Step-by-Step Installation
Follow these steps in order. Take your time with the format and folder choices, because those are the steps that most often cause a plugin to not appear in a DAW.
- Download the installer from the official site — Open https://www.voxengo.com/product/overtonegeq/ in your browser and download the Windows installer for Voxengo Overtone GEQ. Do not use third-party download sites.
- Run the installer — Double-click the downloaded installer file and follow the on-screen prompts on your Windows PC.
- Choose the plugin formats — When asked, select the formats you need, such as VST, VST3, AU and AAX, so your DAW can find the plugin.
- Choose the install location — Keep the default VST folder unless your DAW uses a custom folder, then note that folder for later.
- Finish the installation — Wait for the installer to finish, then close it and restart your DAW if it was already open.
- Rescan plugins in your DAW — Open your DAW plugin manager and rescan, so the new plugin appears in the list.
- Load the plugin once to test it — Insert Voxengo Overtone GEQ on a test track and confirm it opens without an error before you use it in a real project.
Tip: If your DAW cannot find the plugin after installation, check the plugin folder path in your DAW settings first, then rescan. Most missing-plugin problems are a folder or rescan issue, not a broken installer.
How to Warm Up Your First Mix with Overtone GEQ
This walkthrough is a simple first project. It is not a full course, but it will help you hear Voxengo Overtone GEQ working in a real track and learn its main controls.
- Insert Overtone GEQ on a dull track — Add Overtone GEQ as an effect on a track that sounds flat, such as a synth pad.
- Boost a low-mid band gently — Raise one low-mid band by 2 or 3 dB and listen to how the track gains warmth.
- Cut a harsh high band — Lower a high band slightly if the track has harsh frequencies that need taming.
- Try mid-side mode — Switch to mid-side mode and EQ the side channel a little brighter for extra width.
- Listen for the harmonics — Play the track and notice the subtle harmonic richness the EQ adds beyond the balance change.
- Match the output level — Use the output gain to match the level before the plugin, so you judge the tone, not the loudness.
- Compare with the bypass — Bypass the plugin and compare, to make sure the track sounds warmer and richer, not just louder.
Is Voxengo Overtone GEQ Free?
Voxengo Overtone GEQ is freeware from Voxengo. You download it from the official Voxengo site, install it, and use it without paying and without a time limit. There is no paid version of Overtone GEQ itself. Voxengo sells other plugins separately, but nothing in Overtone GEQ nags you toward them. Be aware of one honest limit: the harmonic colour is part of the sound, so for completely transparent, surgical EQ work a clean linear-phase EQ is a better tool.
That free status is important for this guide. All the steps here use the official download only, and they do not involve cracks, activators or licence keys. If you ever see a site offering a paid or cracked version of the free plugin, treat it as unsafe and return to the official site.
Frequently Asked Questions
Is Voxengo Overtone GEQ safe to download?
Yes, when you download it from the official website only. The official installer is the version made by the developer. Avoid third-party sites that bundle extra software or ask for payment for a free plugin.
Does Voxengo Overtone GEQ work on my Windows PC?
Yes, in most cases. Voxengo Overtone GEQ works as VST, VST3, AU and AAX on Windows, and it loads in major DAWs that support those formats, such as Reaper, FL Studio, Ableton Live, Cubase and others. Check your DAW plugin list after installation and rescan if needed.
Is Voxengo Overtone GEQ really free, or will it stop working?
The free version described in this guide is not a short trial. It stays usable after installation. There is no paid edition of Overtone GEQ itself.
Do I need a powerful PC to run Voxengo Overtone GEQ?
No, not for basic use. A modern Windows 10 or 11 PC with 4 GB of RAM or more can run it for simple projects. Larger projects with many tracks and plugins will benefit from more RAM and a faster processor, but you can start and learn on a normal home PC.
Conclusion
Voxengo Overtone GEQ is a useful, free addition to a Windows setup because it is a free 7-band harmonic graphic equalizer that adds harmonic colour while it EQs, and it can be downloaded safely from the official site. Start with presets, learn one control at a time, and build your own sounds as you get comfortable.
To get started, download Voxengo Overtone GEQ from the official website here: https://www.voxengo.com/product/overtonegeq/ Install it with the steps above, test it once, and then use it in your next project. With a little practice, it can become a regular part of your workflow.
Official download link: https://www.voxengo.com/product/overtonegeq/
Related Guides
- Voxengo Marvel GEQ for PC: How to Download & Install on Windows
- Voxengo Tube Amp for PC: How to Download & Install on Windows