 Posted by

Introduction
If you want to learn how ray tracing really works, and render physically accurate images while you do it, PBRT is the free renderer that the textbooks use. It is a free, open-source physically based renderer from Matt Pharr, Wenzel Jakob and Greg Humphreys, the authors of Physically Based Rendering: From Theory to Implementation, and it is both a working renderer and a reference implementation of the algorithms in the book. There is no payment, no account and no serial number. One honest note up front: PBRT has no prebuilt installer, so you build it from source with CMake and a C++ compiler, and it is a command-line tool, not a point-and-click app, so it suits technical users who want to learn rendering properly.
This guide explains what PBRT is, what it can and cannot do, what your PC needs to run it, and how to download and install it from the official website only. You will also get a first-use walkthrough that takes you from installation to a working result in a few minutes. By the end, you should be able to install PBRT on Windows and use it in a real project.
PBRT is best for learning how ray tracing really works, and rendering physically accurate test scenes. Because it is free and legitimate, you do not need a cracked copy or an unknown download site. The official website provides the installer, and the free version is a real, permanent tool, not a short trial.
What Is PBRT?
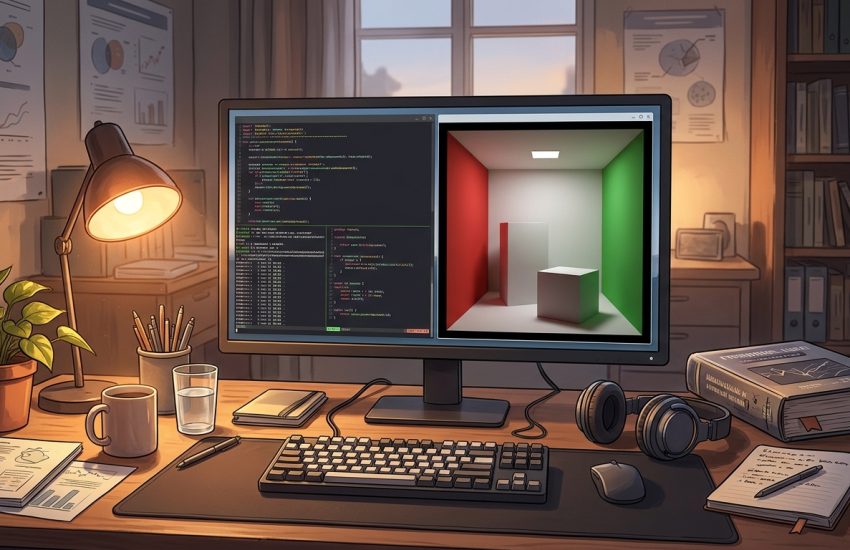
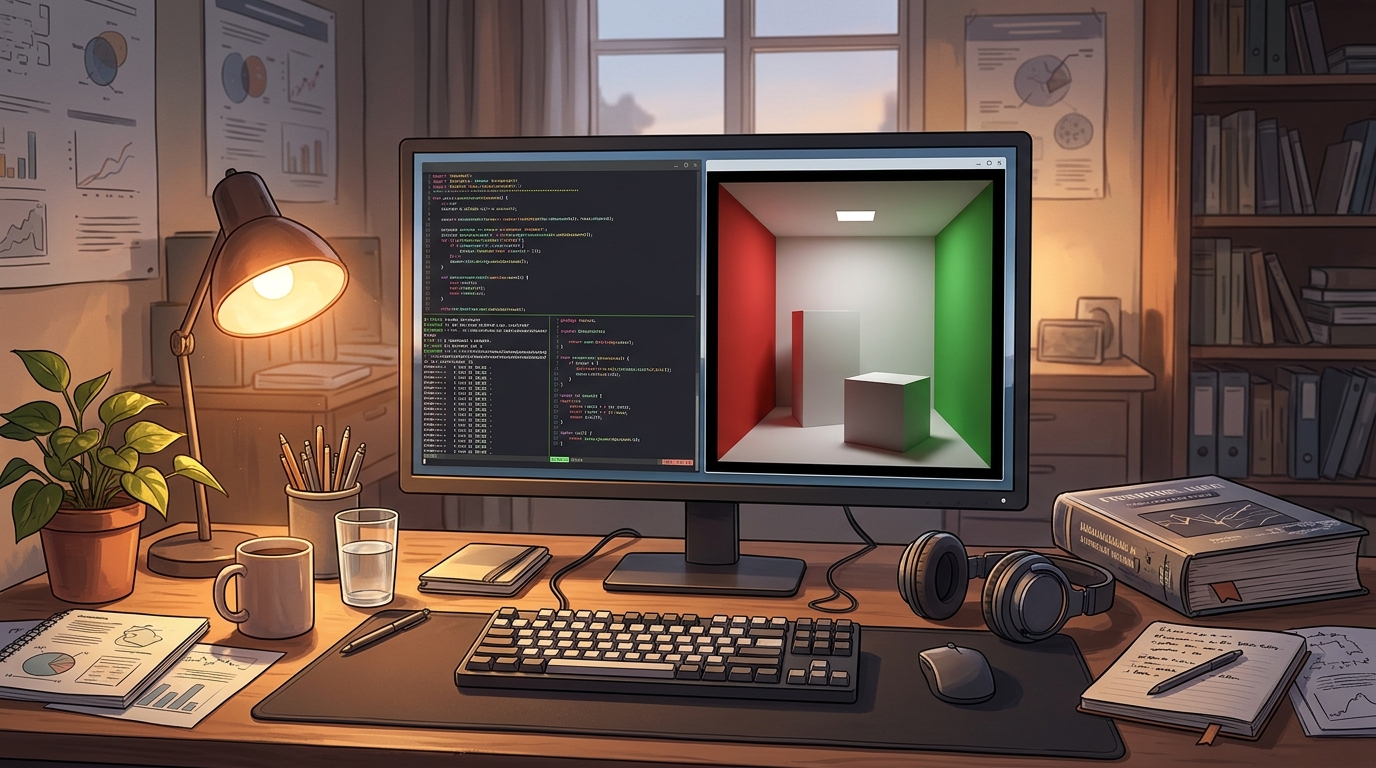
PBRT is a free physically based renderer that you build and run on your PC. In simple terms, it is a command-line program that reads a scene file, which describes the geometry, materials, lights and camera in text, and renders a photorealistic image from it using Monte Carlo ray tracing, the same mathematics that production renderers use. You run it from a terminal, give it a scene file, and it writes out a finished image. Version 4 is the current release, and it adds GPU rendering, spectral rendering and a modernised codebase.
What makes PBRT useful is that it is both a tool and a teacher. Because the source code is open and matches the textbook chapter by chapter, you can read exactly how each algorithm works, change it, and see the effect on your render, which is why universities and rendering researchers use it. It also ships with example scenes, more than 10 GB of them in a separate download, so you have real scenes to practise on. Two honest notes: building it needs Git, CMake and a C++17 compiler such as Visual Studio on Windows, which is a real setup job, and the GPU rendering path needs CUDA 11 or later and OptiX 7.1 or later, so most users will render on the CPU.
Key Features
- Monte Carlo path tracing: Physically based Monte Carlo ray tracing simulates light transport accurately.
- Spectral rendering: Version 4 renders with spectral colour, for more accurate light and material behaviour.
- GPU rendering support: Render on the GPU with CUDA and OptiX, on systems that have a supported graphics card.
- Textbook companion: The source code matches the Physically Based Rendering textbook chapter by chapter.
- Example scenes included: More than 10 GB of example scenes are available in a separate download, for practising.
- Command-line workflow: A clean command-line workflow fits scripts, batch rendering and automated tests.
- Unit tests built in: Built-in unit tests let you check that your build works correctly before you render.
- Free and open source: PBRT is free and open source under the BSD licence, so it stays free forever.
System Requirements
- Operating System: Windows 10 or Windows 11, 64-bit
- Other software: Git, CMake and Visual Studio with C++17 support, for building from source
- Processor: A modern quad-core processor or better
- RAM: At least 8 GB of RAM for basic use, 16 GB or more recommended for large scenes
- Storage: Around 2 GB of free disk space for the source and build, plus room for example scenes
- Other: A stable internet connection for the download, and a terminal for the command-line workflow
These are practical, modern Windows guidelines, not a word-for-word copy of an official specification table. The most important point is simple: PBRT is designed for normal Windows PCs, and a modest modern computer is enough to start.
How to Download PBRT (Official Method)
The only safe place to download PBRT is the official website. Do not download it from random file mirrors or “free download” portals, because those copies may be outdated or bundled with unwanted software. The official site is the source of truth for the current version.
Official download link: https://www.pbrt.org/
On the official PBRT website, follow the link to the pbrt-v4 GitHub repository and clone it with Git, using the –recursive flag so the submodules come with it. PBRT has no prebuilt installer, so the source code is the download. There is no account, serial number or payment involved at any point. If a site asks you to pay for PBRT, or offers a cracked version of it, leave that site and return to the official PBRT page.
Step-by-Step Installation
Follow these steps in order. Take your time with the install location and component choices, because those are the steps that most often cause problems later.
- Install Git, CMake and Visual Studio — Install Git, CMake and Visual Studio with C++17 support on your Windows PC, because PBRT builds from source.
- Clone the pbrt-v4 repository — Open a terminal and run git clone –recursive https://github.com/mmp/pbrt-v4.git to download the source code with its submodules.
- Create a build folder — Create a new folder called build inside the pbrt-v4 folder, and open a terminal inside it.
- Configure with CMake — Run cmake .. in the build folder to generate the Visual Studio solution files for PBRT.
- Build the Release version — Open the generated solution in Visual Studio, or run cmake –build . –config Release, and wait for the build to finish.
- Confirm the build worked — Run the built pbrt.exe with no arguments and confirm it prints its usage message without an error.
- Download an example scene — Download one of the example scenes from the pbrt-v4 scenes repository, so you have a real scene to render.
Tip: PBRT has no installer: you build it from source, so install Git, CMake and Visual Studio first and use the –recursive flag when you clone, or the submodules will be missing and the build will fail. Start with a small example scene, because the full example set is over 10 GB.
First-Use Walkthrough: Your First PBRT Render
This walkthrough is a simple first project. It is not a full course, but it will help you see PBRT working on a real project and learn its main tools.
- Open a terminal in the build folder — Open a terminal inside the build folder where you built PBRT.
- Pick a small example scene — Choose a small example scene file, such as a simple Cornell box, from the scenes you downloaded.
- Run PBRT on the scene — Run pbrt.exe with the scene file as its argument and watch it start rendering.
- Wait for the render to finish — Let the render run to completion. A small scene takes a few minutes on the CPU.
- Open the finished image — Open the output image file and look at the physically based lighting and shadows.
- Try a different sample count — Render the same scene with more samples per pixel and compare how much cleaner the image looks.
- Read the matching textbook chapter — Open the matching chapter of the Physically Based Rendering book to see how the algorithm you just used works.
Is PBRT Free?
PBRT is free and open source under the BSD licence. You download the source code from the official PBRT page, build it, and use it without paying and without a time limit. There is no paid version of PBRT itself. Be aware of two honest limits: there is no prebuilt installer, so you must build it from source with Git, CMake and a C++ compiler, and it is a command-line tool, not a point-and-click app, so it suits technical users.
That free status is important for this guide. All the steps here use the official download only, and they do not involve cracks, activators or licence keys. If you ever see a site offering a paid or cracked version of the free program, treat it as unsafe and return to the official site.
Frequently Asked Questions
Is PBRT safe to download?
Yes, when you download it from the official website only. The official installer is the version made by the developer. Avoid third-party sites that bundle extra software or ask for payment for a free program.
Does PBRT work on my Windows PC?
Yes, in most cases. PBRT runs on Windows 10 and 11 (64-bit), but it needs Git, CMake and a C++17 compiler such as Visual Studio to build, and the GPU path needs CUDA 11 or later and OptiX 7.1 or later. Check the official site for the exact current version if your PC is older.
Is PBRT really free, or will it stop working?
The free version described in this guide is not a short trial. It stays usable after installation. There is no paid edition of PBRT itself, but you must build it from source.
Do I need a powerful PC to run PBRT?
No, not for basic use. A modern Windows 10 or 11 PC with 4 GB of RAM or more can run it for simple projects. Larger projects with many objects and effects will benefit from more RAM and a faster processor, but you can start and learn on a normal home PC.
Conclusion
PBRT is a useful, free addition to a Windows setup because it is a free open-source physically based renderer from the classic rendering textbook, and it can be downloaded safely from the official site. Start with a small first project, learn one tool at a time, and build from there.
To get started, download PBRT from the official website here: https://www.pbrt.org/ Install it with the steps above, test it once, and then use it in your next project. With a little practice, it can become a regular part of your workflow.
Official download link: https://www.pbrt.org/
Related Guides
- Mitsuba 3 for PC: How to Download & Install on Windows
- Appleseed for PC: How to Download & Install on Windows