 Posted by

Introduction
If you work with scientific data and want beautiful, physically accurate renders of it, Intel OSPRay is the free engine that does the heavy lifting. It is an open-source, scalable and portable ray tracing engine from Intel, built for high-performance, high-fidelity visualisation on CPUs and Intel GPUs. It powers the rendering inside tools such as ParaView, and it ships with ospStudio, an interactive viewer app you can use to render your own scenes. There is no payment, no account and no serial number, and the download from the official OSPRay site includes a ready-made Windows installer. One honest note: OSPRay is a developer library and engine, not a one-click modelling app, so it suits technical users and developers more than casual artists.
This guide explains what OSPRay is, what it can and cannot do, what your PC needs to run it, and how to download and install it from the official website only. You will also get a first-use walkthrough that takes you from installation to a working result in a few minutes. By the end, you should be able to install OSPRay on Windows and use it in a real project.
OSPRay is best for rendering scientific data, path-traced images on CPU, and building ray-traced visualisation apps. Because it is free and legitimate, you do not need a cracked copy or an unknown download site. The official website provides the installer, and the free version is a real, permanent tool, not a short trial.
What Is OSPRay?
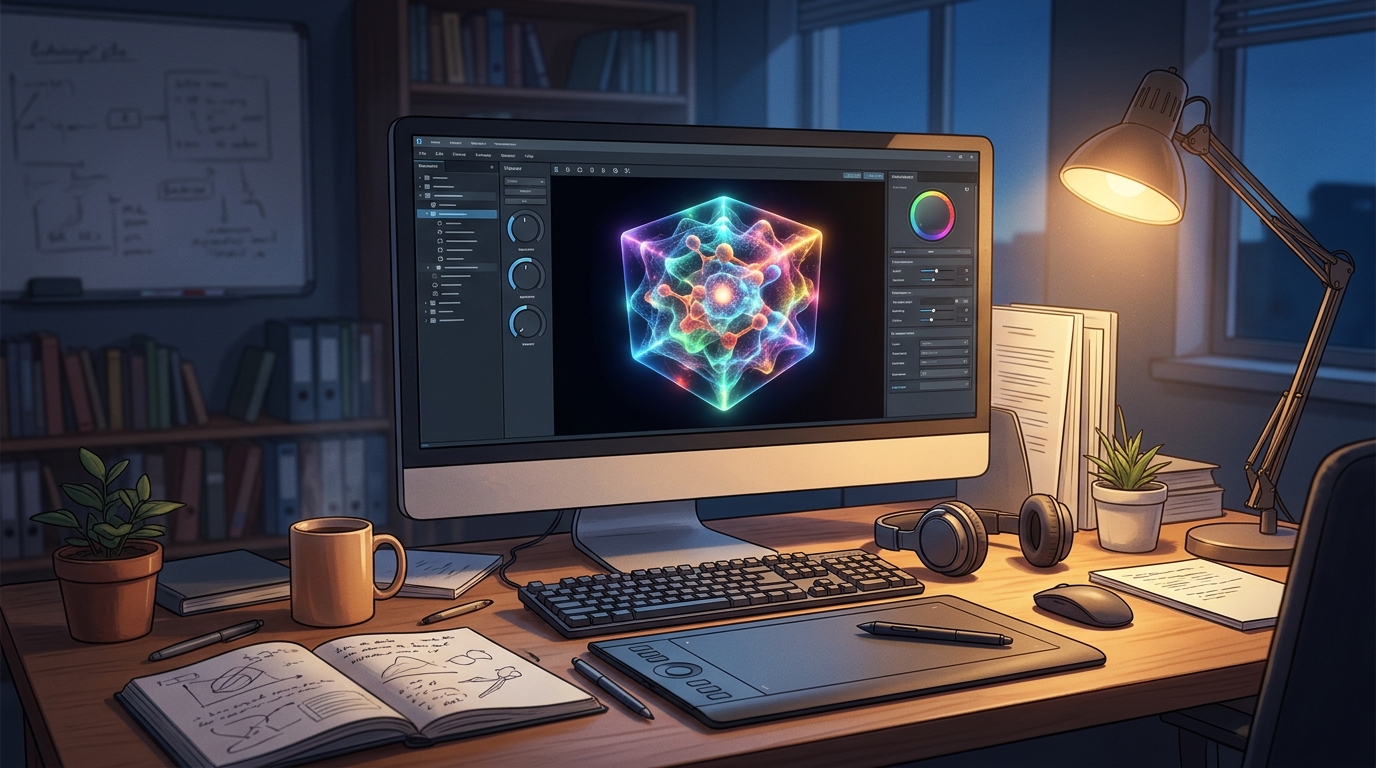
OSPRay is a free ray tracing engine that you install on your PC for rendering 3D scenes and scientific data. In simple terms, it is a library and a set of tools that take a 3D scene, such as a volume, a surface or a point cloud, and render it with global illumination, shadows and depth of field, using your CPU or an Intel GPU. The download includes ospStudio, an interactive viewer that lets you open a scene, move the camera, change the renderer and save the image, without writing any code.
What makes OSPRay useful is its quality and its openness. It is released under the permissive Apache 2.0 licence, it runs on anything from laptops to HPC clusters, and it builds on Intel Embree, Open VKL and Open Image Denoise, so the renders are fast and clean. The current version is v3.2.0, and the Windows download comes as an MSI installer or a ZIP archive, both precompiled for 64-bit. Two honest notes: your CPU must support at least SSE4.1, which almost every modern PC does, and OSPRay is an engine for developers and technical users, so the viewer app is powerful but not as friendly as a consumer 3D program.
Key Features
- CPU path tracing: High-quality path tracing on your CPU, with global illumination, shadows and depth of field.
- Intel GPU support: A GPU module runs on Intel Arc and other Intel GPUs on Windows and Linux.
- ospStudio viewer included: The ospStudio viewer app lets you open scenes and render them interactively, without writing code.
- Scientific visualisation: Built for visualising volumes, surfaces and point clouds from scientific data.
- Volume rendering: Renders volumes with transfer functions, for medical, simulation and research data.
- Denoising built in: Open Image Denoise integration cleans up noisy renders automatically.
- Multi-node rendering: Distributed rendering across many machines with MPI, for very large scenes.
- Free and open source: OSPRay is free and open source under the Apache 2.0 licence, so it stays free forever.
System Requirements
- Operating System: Windows 10 or Windows 11, 64-bit
- Processor: A CPU with SSE4.1 support or newer, such as any modern Intel or AMD processor
- RAM: At least 4 GB of RAM for basic use, 8 GB or more recommended for large scenes
- Storage: Around 500 MB of free disk space for the program and your projects
- Graphics: A graphics card for the viewer app; an Intel Arc GPU is needed for the GPU module
- Other: A stable internet connection for the download, and a mouse for working in 3D
These are practical, modern Windows guidelines, not a word-for-word copy of an official specification table. The most important point is simple: OSPRay is designed for normal Windows PCs, and a modest modern computer is enough to start.
How to Download OSPRay (Official Method)
The only safe place to download OSPRay is the official website. Do not download it from random file mirrors or “free download” portals, because those copies may be outdated or bundled with unwanted software. The official site is the source of truth for the current version.
Official download link: https://www.ospray.org/downloads.html
On the official OSPRay downloads page, download the Windows 64-bit MSI installer, named ospray-3.2.0.x86_64.windows.msi, to your Downloads folder. A ZIP archive of the same version is also available if you prefer not to run an installer. There is no account, serial number or payment involved at any point. If a site asks you to pay for OSPRay, or offers a cracked version of it, leave that site and return to the official OSPRay page.
Step-by-Step Installation
Follow these steps in order. Take your time with the install location and component choices, because those are the steps that most often cause problems later.
- Download the Windows installer — Open https://www.ospray.org/downloads.html in your browser and download the Windows 64-bit MSI installer.
- Run the MSI installer — Double-click the downloaded MSI file and follow the on-screen prompts on your Windows PC.
- Choose the install location — Keep the default install folder unless you have a reason to change it, then note the folder for later.
- Finish the installation — Wait for the installer to finish, then close it.
- Find ospStudio — Look in the install folder for ospStudio, the interactive viewer app that ships with OSPRay.
- Run ospStudio once — Double-click ospStudio.exe to open the viewer and confirm it starts without an error.
- Open a sample scene — Open one of the sample scenes that ships with OSPRay to see a finished render setup.
Tip: OSPRay is a developer engine, not a consumer 3D app, so start with the ospStudio viewer rather than the library. If the GPU module does not start, check that you have the latest Intel graphics drivers, because the GPU path needs them.
First-Use Walkthrough: Your First OSPRay Render
This walkthrough is a simple first project. It is not a full course, but it will help you see OSPRay working on a real project and learn its main tools.
- Open ospStudio — Open ospStudio from the OSPRay install folder.
- Load a sample scene — Load one of the sample scenes that ships with OSPRay, such as a volume or a surface model.
- Choose the path tracer — Switch the renderer to the path tracer for the highest quality image.
- Move the camera — Move the camera around the scene until you find a good angle.
- Adjust the lighting — Change the light direction and intensity until the scene looks clear and well lit.
- Turn on denoising — Enable denoising and watch the image clean up as the render finishes.
- Save your render — Save the finished image as a PNG file, ready to share or to use in a report.
Is OSPRay Free?
OSPRay is free and open source under the Apache 2.0 licence. You download it from the official OSPRay site, install it, and use it without paying and without a time limit. There is no paid version of OSPRay itself. Be aware of two honest limits: your CPU must support at least SSE4.1, which almost every modern PC does, and OSPRay is a developer engine, so the viewer app is powerful but not as friendly as a consumer 3D program.
That free status is important for this guide. All the steps here use the official download only, and they do not involve cracks, activators or licence keys. If you ever see a site offering a paid or cracked version of the free program, treat it as unsafe and return to the official site.
Frequently Asked Questions
Is OSPRay safe to download?
Yes, when you download it from the official website only. The official installer is the version made by the developer. Avoid third-party sites that bundle extra software or ask for payment for a free program.
Does OSPRay work on my Windows PC?
Yes, in most cases. OSPRay runs on Windows 10 and 11 (64-bit), and the system requirements above cover a normal modern PC. Check the official site for the exact current version if your PC is older.
Is OSPRay really free, or will it stop working?
The free version described in this guide is not a short trial. It stays usable after installation. There is no paid edition of OSPRay itself.
Do I need a powerful PC to run OSPRay?
No, not for basic use. A modern Windows 10 or 11 PC with 4 GB of RAM or more can run it for simple projects. Larger projects with many objects and effects will benefit from more RAM and a faster processor, but you can start and learn on a normal home PC.
Conclusion
OSPRay is a useful, free addition to a Windows setup because it is a free open-source ray tracing engine from Intel for high-fidelity scientific visualisation, and it can be downloaded safely from the official site. Start with a small first project, learn one tool at a time, and build from there.
To get started, download OSPRay from the official website here: https://www.ospray.org/downloads.html Install it with the steps above, test it once, and then use it in your next project. With a little practice, it can become a regular part of your workflow.
Official download link: https://www.ospray.org/downloads.html
Related Guides
- Appleseed for PC: How to Download & Install on Windows
- Mitsuba 3 for PC: How to Download & Install on Windows