 Posted by

Introduction
If you need to turn a CT or MRI scan into a 3D model you can print, InVesalius is the free program that does it. It is a free and open-source software for three-dimensional reconstruction of medical images, developed by the Renato Archer Information Technology Center in Brazil, and it is used in labs and hospitals for research, education and surgical planning. There is no payment, no account and no serial number, and the download from the official InVesalius site is the complete program.
This guide explains what InVesalius is, what it can and cannot do, what your PC needs to run it, and how to download and install it from the official website only. You will also get a first-use walkthrough that takes you from installation to a working result in a few minutes. By the end, you should be able to install InVesalius on Windows and use it in a real project.
InVesalius is best for medical 3D reconstruction, anatomical modelling, and STL export for 3D printing. Because it is free and legitimate, you do not need a cracked copy or an unknown download site. The official website provides the installer, and the free version is a real, permanent tool, not a short trial.
What Is InVesalius?
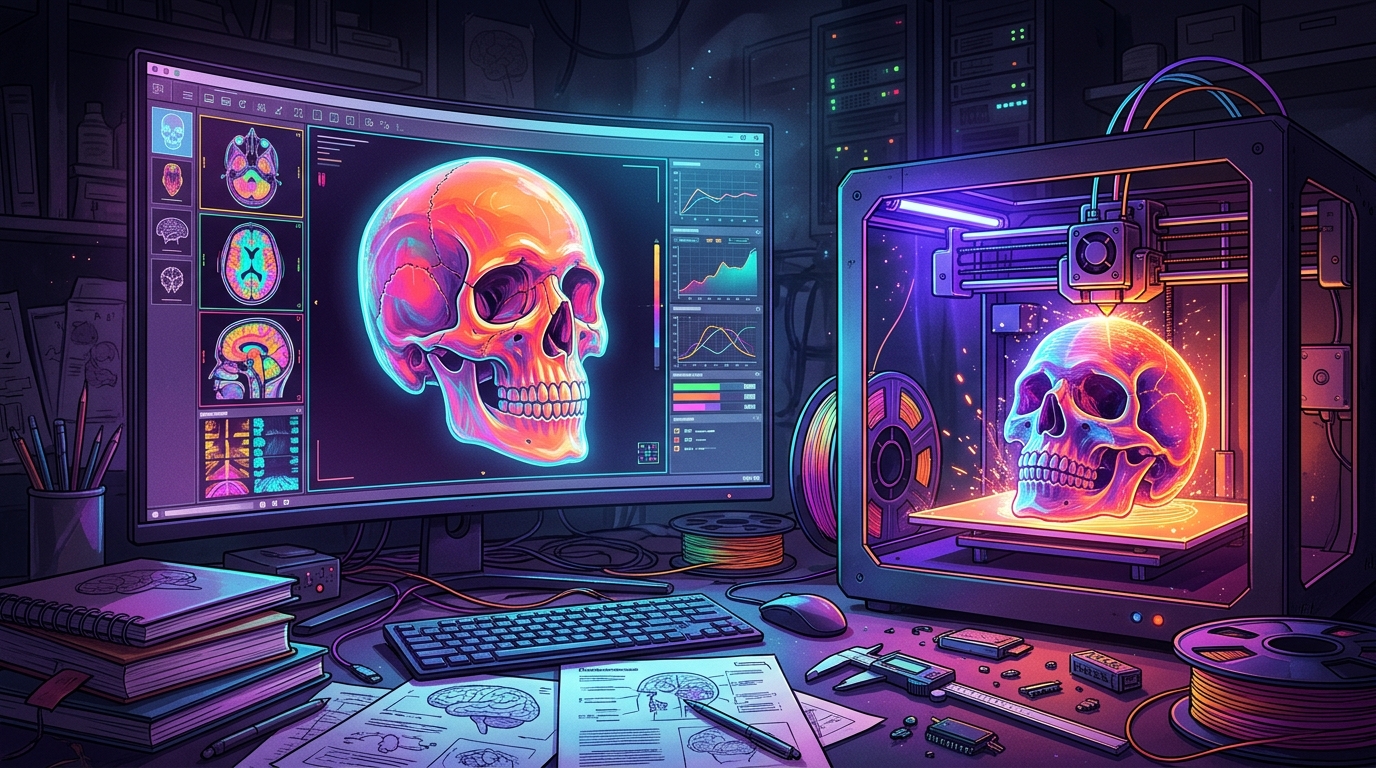
InVesalius is a free 3D medical imaging program that you install on your Windows PC and use to build models from scans. In simple terms, it is a program where you load a DICOM study, choose a tissue by its density, and generate a 3D surface of the anatomy, which you can then export as an STL file for 3D printing: you load the scan, pick the tissue, and print. It also supports measurements and surface editing.
What makes InVesalius useful is its focus and its openness. Because it was built for 3D reconstruction, it goes from scan to printable model in a few steps, and because it is free software under the GPL, it is free forever with no licence server and no subscription. It also reads DICOM, Analyze and NIfTI formats. Three honest notes: the stable release is version 3.1.1, from 2017, so InVesalius is a legacy program and development has slowed; it is a research and education tool, not a certified clinical device; and it is a technical medical tool, so it has a learning curve for beginners.
Key Features
- 3D reconstruction from scans: 3D reconstruction from CT and MRI scans turns slices into printable anatomical models.
- DICOM and NIfTI support: DICOM, Analyze and NIfTI support loads scans from many scanners and archives.
- Threshold segmentation: Threshold segmentation picks a tissue by density, so you can isolate bone or soft tissue quickly.
- STL export for 3D printing: STL export for 3D printing, plus OBJ and PLY, lets you print the model on any printer.
- Surface editing tools: Surface editing tools smooth and clean the model before export.
- Measurements: Measurements record distances and angles on the anatomy.
- Free software under the GPL: Free software under the GPL, with the source code public and no licence server.
- Windows, Mac and Linux: Windows, Mac and Linux installers cover every desktop.
System Requirements
- Operating System: Windows 10 or Windows 11, 64-bit
- Processor: A modern dual-core processor or better
- RAM: At least 4 GB of RAM for basic use
- Storage: Around 500 MB of free disk space for the download and program files
- Graphics: Any graphics card with OpenGL support, for smooth 3D rendering
- Other: A stable internet connection for the download, and a mouse for working in 3D
These are practical, modern Windows guidelines, not a word-for-word copy of an official specification table. The most important point is simple: InVesalius is designed for normal Windows PCs, and a modest modern computer is enough to start.
How to Download InVesalius (Official Method)
The only safe place to download InVesalius is the official website. Do not download it from random file mirrors or “free download” portals, because those copies may be outdated or bundled with unwanted software. The official site is the source of truth for the current version.
Official download link: https://invesalius.github.io/
On the official InVesalius site, open the download or releases page and download the Windows installer for the current stable release to your Downloads folder. There is no account, serial number or payment involved at any point. If a site asks you to pay for InVesalius, or offers a cracked version of it, leave that site and return to the official InVesalius site.
Step-by-Step Installation
Follow these steps in order. Take your time with the install location and component choices, because those are the steps that most often cause problems later.
- Open the official InVesalius site — Open https://invesalius.github.io/ in your browser.
- Open the download or releases page — Find the download or releases page on the InVesalius site.
- Download the Windows installer — Download the Windows installer for the current stable release to your Downloads folder.
- Run the installer — Double-click the downloaded installer file and follow the setup wizard to install InVesalius.
- Choose the install location — Accept the default install location, or choose a folder with enough free space.
- Finish the installation — Wait for the installer to finish, then close the setup wizard.
- Launch InVesalius — Open InVesalius from the Start menu or the desktop shortcut and confirm it opens without an error.
Tip: If the installer asks about extra components, keep the default choices unless you know you need something different. Most install problems come from changing a folder or skipping a component.
How to Reconstruct Your First Model with InVesalius
This walkthrough is a simple first project. It is not a full course, but it will help you see InVesalius working on a real project and learn its main tools.
- Open InVesalius and load a scan — Open InVesalius and load a DICOM study, or a sample dataset if you have one.
- Scroll through the slices — Scroll through the slice views, so you can see the anatomy in the scan.
- Choose a tissue threshold — Choose a threshold that picks out the tissue you want, such as bone.
- Generate the 3D surface — Generate the 3D surface, so the anatomy appears as a 3D model.
- Smooth the model — Smooth the model with the surface tools, so it looks clean for printing.
- Export the model as STL — Export the model as an STL file, so you can open it in a slicer for 3D printing.
- Save the project — Save the project, so you can reopen the scan and the model later.
Is InVesalius Free?
InVesalius is free software under the GPL, developed by the Renato Archer Information Technology Center in Brazil. You download it from the official InVesalius site, install it, and use it without paying and without a time limit. There is no paid version of InVesalius itself. Be aware of three honest limits: the stable release is version 3.1.1, from 2017, so InVesalius is a legacy program and development has slowed; it is a research and education tool, not a certified clinical device; and it is a technical medical tool, so it has a learning curve for beginners.
That free status is important for this guide. All the steps here use the official download only, and they do not involve cracks, activators or licence keys. If you ever see a site offering a paid or cracked version of the free program, treat it as unsafe and return to the official site.
Frequently Asked Questions
Is InVesalius safe to download?
Yes, when you download it from the official website only. The official installer is the version made by the developer. Avoid third-party sites that bundle extra software or ask for payment for a free program.
Does InVesalius work on my Windows PC?
Yes, in most cases. InVesalius runs on Windows 10 and 11 (64-bit), and the system requirements above cover a normal modern PC. Check the official site for the exact current version if your PC is older.
Is InVesalius really free, or will it stop working?
The free version described in this guide is not a short trial. It stays usable after installation. There is no paid edition of InVesalius itself.
Do I need a powerful PC to run InVesalius?
No, not for basic use. A modern Windows 10 or 11 PC with 4 GB of RAM or more can run it for simple projects. Larger projects with many objects and effects will benefit from more RAM and a faster processor, but you can start and learn on a normal home PC.
Conclusion
InVesalius is a useful, free addition to a Windows setup because it is a free open-source tool that turns CT and MRI scans into 3D anatomical models for 3D printing, and it can be downloaded safely from the official site. Start with a small first project, learn one tool at a time, and build from there.
To get started, download InVesalius from the official website here: https://invesalius.github.io/ Install it with the steps above, test it once, and then use it in your next project. With a little practice, it can become a regular part of your workflow.
Official download link: https://invesalius.github.io/
Related Guides
- MeshLab for PC: How to Download & Install on Windows
- FreeCAD for PC: How to Download & Install on Windows