 Posted by

IdeaMaker for PC: How to Download & Install on Windows
Introduction
If you want a slicer that lets you change settings for a single layer, import STEP files directly, and even add texture to your prints, IdeaMaker is the free tool that does it. It is the slicing software from Raise3D, designed for the Raise3D line of printers but usable with many third-party machines, and it is completely free to download and use. There is no payment, no account and no serial number, and the download from the official Raise3D site is the complete program.
This guide explains what IdeaMaker is, what it can and cannot do, what your PC needs to run it, and how to download and install it from the official website only. You will also get a first-use walkthrough that takes you from installation to a working result in a few minutes. By the end, you should be able to install IdeaMaker on Windows and use it in a real project.
IdeaMaker is best for Raise3D printer owners, precise per-layer control, and slicing STEP files directly. Because it is free and legitimate, you do not need a cracked copy or an unknown download site. The official website provides the installer, and the free version is a real, permanent tool, not a short trial.
What Is IdeaMaker?
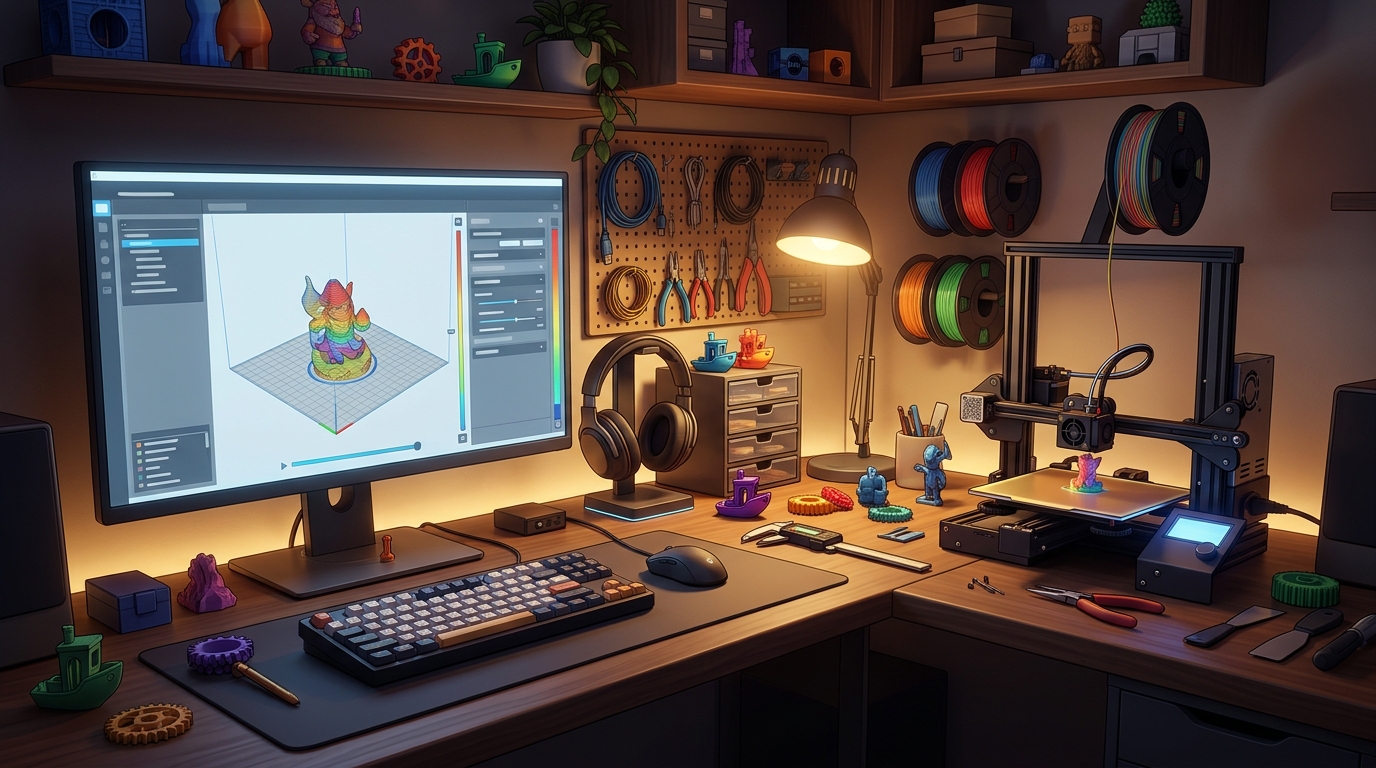
IdeaMaker is a free desktop application for slicing 3D models for printing. In simple terms, it is a program where you load a 3D model, choose your printer and filament, and IdeaMaker generates the G-code your printer follows, with one big advantage: you can change parameters for a group, a single layer, or a single volume of the model, so a tricky overhang can print slowly while the rest prints fast. You can also import STEP and IGES files directly, which most free slicers cannot do, and generate textures from greyscale images.
What makes IdeaMaker useful is its depth and its library. It includes the IdeaMaker Library, a free collection of slicing templates for different filaments and printers, including third-party machines, it supports manual supports and a Free Cut tool, and it links directly to RaiseCloud for remote monitoring. The current version is 5.5.3. Two honest notes: IdeaMaker is free but it is not open source, and the page names no licence, so the terms for commercial use are unclear; and it is designed first for Raise3D printers, so setting up a third-party printer takes a little extra work.
Key Features
- Per-layer parameter changes: Change settings for a group, a layer or a volume, so tricky parts print differently from the rest.
- STEP and IGES import: Import STEP and IGES files directly, which most free slicers cannot do.
- Texture generation: Generate textures on your prints from greyscale images, for grip and decoration.
- IdeaMaker Library: A free library of slicing templates for many filaments and printers, including third-party machines.
- Manual supports: Add and edit support structures by hand, for models the automatic supports get wrong.
- RaiseCloud integration: Link to RaiseCloud to monitor prints remotely and manage your printers.
- DLP templates: DLP templates support Raise3D resin machines alongside the usual FDM printers.
- Completely free: IdeaMaker is completely free, with no trial, no account and no payment needed.
System Requirements
- Operating System: Windows 10 or Windows 11, 64-bit
- Processor: A modern dual-core processor or better
- RAM: At least 4 GB of RAM for basic use, 8 GB or more recommended for large models
- Storage: Around 500 MB of free disk space for the program and your projects
- Graphics: A graphics card that supports OpenGL, which almost every modern PC has
- Other: A 3D printer for printing, a stable internet connection for the download, and a mouse for working in 3D
These are practical, modern Windows guidelines, not a word-for-word copy of an official specification table. The most important point is simple: IdeaMaker is designed for normal Windows PCs, and a modest modern computer is enough to start.
How to Download IdeaMaker (Official Method)
The only safe place to download IdeaMaker is the official website. Do not download it from random file mirrors or “free download” portals, because those copies may be outdated or bundled with unwanted software. The official site is the source of truth for the current version.
Official download link: https://www.raise3d.com/ideamaker
On the official Raise3D IdeaMaker page, download the Windows installer to your Downloads folder. IdeaMaker is completely free, and the current version is 5.5.3. There is no payment involved at any point. If a site asks you to pay for IdeaMaker, or offers a cracked version of it, leave that site and return to the official Raise3D page.
Step-by-Step Installation
Follow these steps in order. Take your time with the install location and component choices, because those are the steps that most often cause problems later.
- Download the installer from the official site — Open https://www.raise3d.com/ideamaker in your browser and download the Windows installer for IdeaMaker.
- Run the installer — Double-click the downloaded installer file and follow the on-screen prompts on your Windows PC.
- Choose the install location — Keep the default install folder unless you have a reason to change it, then note the folder for later.
- Finish the installation — Wait for the installer to finish, then close it.
- Launch IdeaMaker — Double-click the IdeaMaker shortcut to open the program and confirm it starts without an error.
- Add your printer — Add your printer from the list, or set up a third-party printer with the manual settings.
- Open a sample model — Open one of the sample models from the IdeaMaker Library to see a finished slicing setup.
Tip: IdeaMaker is designed first for Raise3D printers, so if you use another brand, set it up as a third-party printer and check the IdeaMaker Library for a template that matches your filament before you slice your first model.
First-Use Walkthrough: Your First IdeaMaker Print
This walkthrough is a simple first project. It is not a full course, but it will help you see IdeaMaker working on a real project and learn its main tools.
- Open IdeaMaker and load a model — Open the program and load a small STL model, such as a calibration cube.
- Choose your printer and filament — Select your printer and filament from the profiles, or load a template from the IdeaMaker Library.
- Set the layer height — Set a layer height of 0.2 mm, a good balance of speed and quality for a first print.
- Add manual supports if needed — Check the overhangs and add manual supports anywhere the automatic supports missed.
- Slice the model — Click Slice and let IdeaMaker generate the G-code and show the layer preview.
- Check the preview — Step through the layers in the preview and confirm the supports and infill look right.
- Export the G-code — Export the finished G-code file, ready to copy to your printer or send to RaiseCloud.
Is IdeaMaker Free?
IdeaMaker is free from Raise3D. You download it from the official Raise3D site, install it, and use it without paying and without a time limit. There is no paid version of IdeaMaker itself. Be aware of two honest limits: it is free but not open source, and the page names no licence, so the terms for commercial use are unclear; and it is designed first for Raise3D printers, so third-party printers need manual setup.
That free status is important for this guide. All the steps here use the official download only, and they do not involve cracks, activators or licence keys. If you ever see a site offering a paid or cracked version of the free program, treat it as unsafe and return to the official site.
Frequently Asked Questions
Is IdeaMaker safe to download?
Yes, when you download it from the official website only. The official installer is the version made by the developer. Avoid third-party sites that bundle extra software or ask for payment for a free program.
Does IdeaMaker work on my Windows PC?
Yes, in most cases. IdeaMaker runs on Windows 10 and 11 (64-bit), and the system requirements above cover a normal modern PC. Check the official site for the exact current version if your PC is older.
Is IdeaMaker really free, or will it stop working?
The free version described in this guide is not a short trial. It stays usable after installation. There is no paid edition of IdeaMaker itself.
Do I need a powerful PC to run IdeaMaker?
No, not for basic use. A modern Windows 10 or 11 PC with 4 GB of RAM or more can run it for simple projects. Larger projects with many objects and effects will benefit from more RAM and a faster processor, but you can start and learn on a normal home PC.
Conclusion
IdeaMaker is a useful, free addition to a Windows setup because it is a free 3D printing slicer from Raise3D with per-layer settings, STEP import and texture generation, and it can be downloaded safely from the official site. Start with a small first project, learn one tool at a time, and build from there.
To get started, download IdeaMaker from the official website here: https://www.raise3d.com/ideamaker Install it with the steps above, test it once, and then use it in your next project. With a little practice, it can become a regular part of your workflow.
Official download link: https://www.raise3d.com/ideamaker
Related Guides
- FreeCAD for PC: How to Download & Install on Windows
- Meshmixer for PC: How to Download & Install on Windows