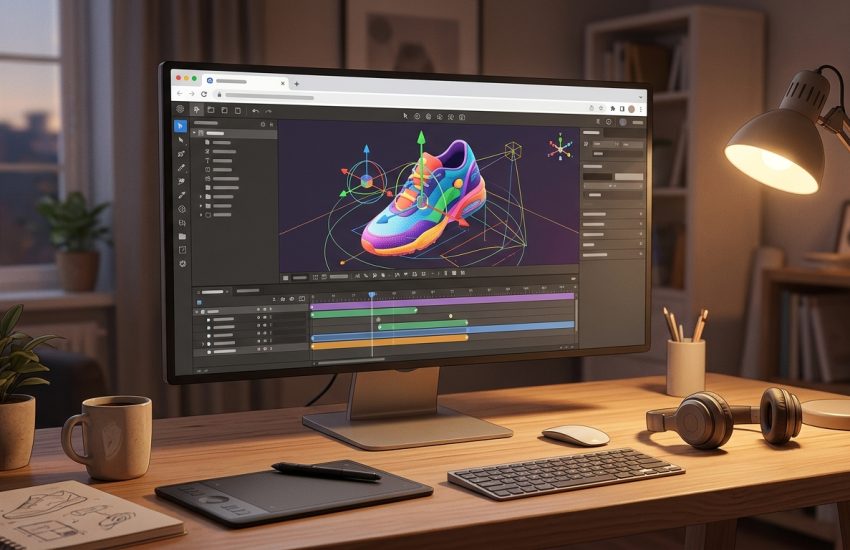
 Posted by

Introduction
If you want to put interactive 3D on a website, with objects that spin, react to clicks and animate, Spline is the free tool built exactly for that. It is a browser-based 3D design platform where you model, animate and publish interactive 3D scenes for the web, iOS and Android, with events, states, physics and variables built into the same editor as the geometry. There is no installer to download and no payment for the Free plan, and you start from the official Spline website.
This guide explains what Spline is, what it can and cannot do, what your PC needs to run it, and how to start using it from the official website only. You will also get a first-use walkthrough that takes you from signing up to a published interactive scene in a few minutes. By the end, you should be able to open Spline on Windows and use it in a real project.
Spline is best for interactive 3D for websites, product showcases, and animated 3D scenes without code. Because the Free plan is free and legitimate, you do not need a cracked copy or an unknown download site. The official website is the only place to sign up, and the free plan is a real, permanent plan, not a short trial.
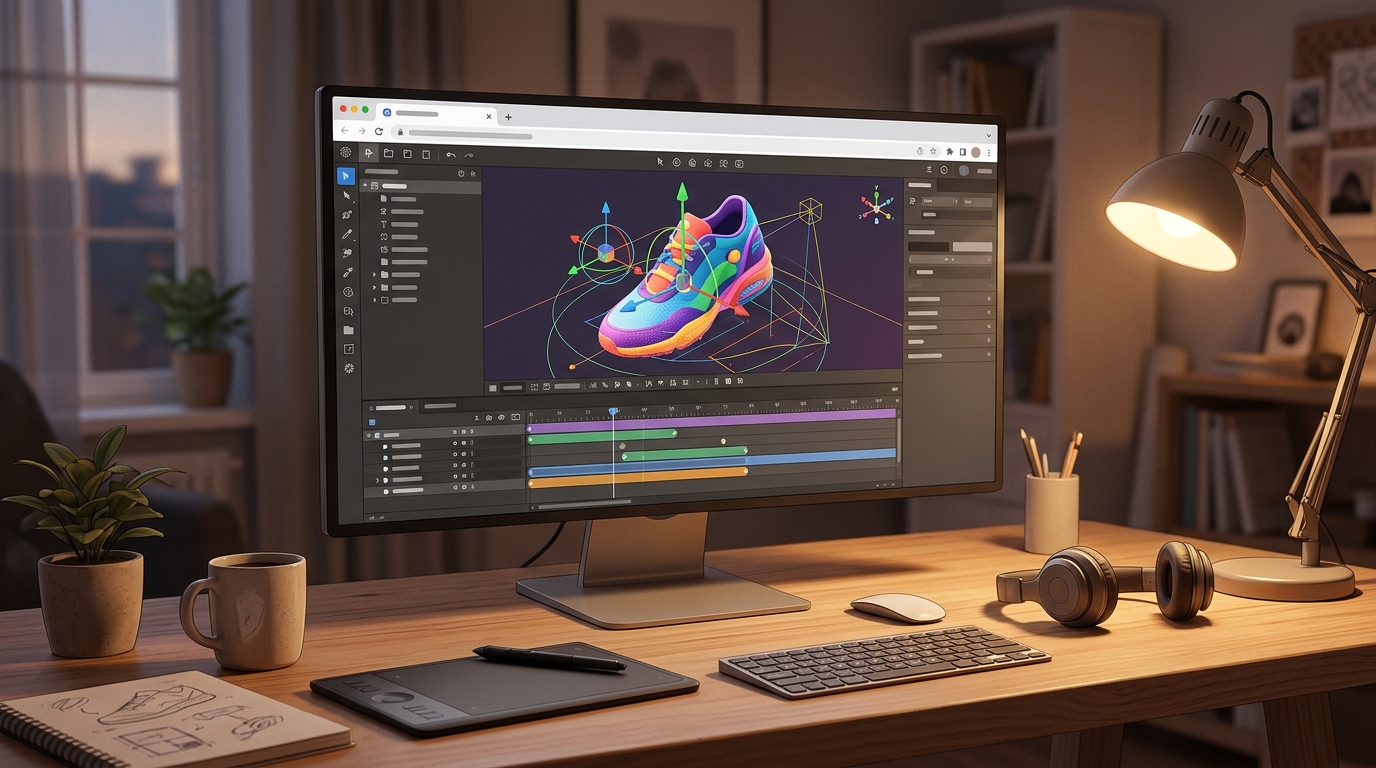
What Is Spline?
Spline is a free browser-based 3D design tool that you use on your PC for making interactive 3D scenes. In simple terms, it is a program that opens in your web browser, where you build a scene from shapes, materials and lights, add animation on a timeline, attach events such as mouse clicks and hovers, and publish the result as a web embed for Webflow, Framer, Wix Studio, React or plain HTML. You can also export scenes for iOS and Android apps on the paid plans.
What makes Spline useful is that interactivity is built in, not bolted on. Events, states, physics and variables live in the same editor as the geometry, so a button can change a colour, a drag can spin a product, and a scene can react to the visitor without any code, and real-time collaboration lets a team work in the same file. Two honest notes: the Free plan limits how many personal files you can create and puts the Spline watermark on web exports, so it is not suitable for client-facing work without upgrading, and the AI features, such as text-to-3D generation, need a paid add-on with monthly credits.
Key Features
- Interactive 3D scenes: Build scenes where objects react to clicks, hovers and drags, without writing code.
- Events, states and physics: Events, states, physics and variables live in the same editor as the geometry.
- Animation timeline: Animate objects on a timeline, with easing and looping, for lively product scenes.
- Web embeds: Publish scenes as embeds for Webflow, Framer, Wix Studio, React, Next.js and plain HTML.
- Real-time collaboration: Work in the same file with teammates, with changes appearing live.
- Material and template libraries: Libraries of materials, templates and ready-made scenes speed up your first project.
- iOS and Android export: Export scenes for native iOS and Android apps on the paid plans.
- Free plan, no install: The Free plan costs nothing and runs in any modern browser, with nothing to install.
System Requirements
- Operating System: Windows 10 or Windows 11, 64-bit
- Browser: A modern browser such as Chrome, Edge or Firefox, with WebGL enabled
- Processor: A modern dual-core processor or better
- RAM: At least 4 GB of RAM for basic use, 8 GB or more recommended for large scenes
- Storage: Almost no disk space needed, because your files are stored in the cloud
- Other: A stable internet connection, which Spline needs at all times, and a mouse for working in 3D
These are practical, modern Windows guidelines, not a word-for-word copy of an official specification table. The most important point is simple: Spline is designed for normal Windows PCs, and a modest modern computer is enough to start.
How to Download Spline (Official Method)
The only safe place to use Spline is the official website. Do not download it from random file mirrors or “free download” portals, because there is no official installer to download, and those copies may be bundled with unwanted software. The official site is the source of truth for the current version.
Official download link: https://spline.design/
On the official Spline website, sign up for the Free plan and open Spline in your browser. There is no installer to download and no setup file for Windows: you sign up at spline.design, open the editor, and you are designing. There is no payment for the Free plan. If a site offers you a Spline installer to download, or a cracked version of it, leave that site and return to the official Spline page.
Step-by-Step Installation
Spline runs entirely in your browser, so these steps take you from signing up to opening your first scene. Work carefully through them in order, and remember that web exports on the Free plan carry the Spline watermark.
- Create a free Spline account — Open https://spline.design/ in your browser and sign up for the Free plan with your email address. No credit card is needed.
- Confirm your email address — Open the confirmation email from Spline and confirm your account, so you can sign in.
- Open the Spline editor — Sign in and open the Spline editor in your browser. Spline opens in the browser, with nothing to install.
- Create your first scene — Click to create a new scene, then give it a name, such as My First Scene.
- Look at the editor layout — Look at the shape tools, the layers panel and the properties panel, and confirm the empty scene opens.
- Open a template scene — Open one of Spline’s template scenes to see a finished interactive scene and how it was built.
- Publish a test embed — Publish the template scene and copy the embed code, so you know how publishing works.
Tip: Spline needs an internet connection at all times, because there is no offline mode. Remember that web exports on the Free plan carry the Spline watermark, so upgrade to Hobby if you need watermark-free embeds for a client.
First-Use Walkthrough: Your First Interactive Spline Scene
This walkthrough is a simple first project. It is not a full course, but it will help you see Spline working on a real project and learn its main tools.
- Create a scene and add a shape — Create a new scene in Spline and add a simple shape, such as a rounded cube, to the canvas.
- Apply a material — Apply a colourful material to the shape and adjust its roughness until it looks good.
- Add a light — Add a light above the shape and move it until the scene looks clear and well lit.
- Animate the shape — Use the animation timeline to make the shape spin slowly, so the scene feels alive.
- Add a click event — Add an event so that clicking the shape changes its colour, and test it in the preview.
- Preview the scene — Open the preview and click the shape to confirm the colour change works.
- Publish and embed your scene — Publish the scene and copy the embed code, ready to paste into a website.
Is Spline Free?
Spline Free is free from Spline, Inc. You sign up on the official Spline site and use it without paying and without a time limit. There is no paid version of the Free plan itself, but it limits how many personal files you can create and puts the Spline watermark on web exports. Be aware of two more honest limits: the AI features need a paid add-on with monthly credits, and exports such as STL, GLTF and USDZ need the Pro plan, which costs 25 US dollars per seat per month when billed annually.
That free status is important for this guide. All the steps here use the official download only, and they do not involve cracks, activators or licence keys. If you ever see a site offering a paid or cracked version of the free program, treat it as unsafe and return to the official site.
Frequently Asked Questions
Is Spline safe to download?
Yes, when you use it from the official website only. The official Spline site is the version made by Spline, Inc. Avoid third-party sites that offer a Spline installer to download, because no official installer exists.
Does Spline work on my Windows PC?
Yes, in most cases. Spline runs in any modern browser on Windows 10 and 11, such as Chrome, Edge or Firefox, and the system requirements above cover a normal modern PC. Check the official site for the exact current version if your PC is older.
Is Spline really free, or will it stop working?
The free plan described in this guide is not a short trial. It stays usable, but personal files are limited and web exports carry the Spline watermark.
Do I need a powerful PC to run Spline?
No, not for basic use. A modern Windows 10 or 11 PC with 4 GB of RAM or more can run it for simple projects. Larger projects with many objects and effects will benefit from more RAM and a faster processor, but you can start and learn on a normal home PC.
Conclusion
Spline is a useful, free addition to a Windows setup because it is a free browser-based 3D design tool for interactive web scenes with animation, physics and events, and it can be downloaded safely from the official site. Start with a small first project, learn one tool at a time, and build from there.
To get started, download Spline from the official website here: https://spline.design/ Install it with the steps above, test it once, and then use it in your next project. With a little practice, it can become a regular part of your workflow.
Official download link: https://spline.design/
Related Guides
- Vectary for PC: How to Download & Install on Windows
- Tinkercad for PC: How to Download & Install on Windows