 Posted by

Introduction
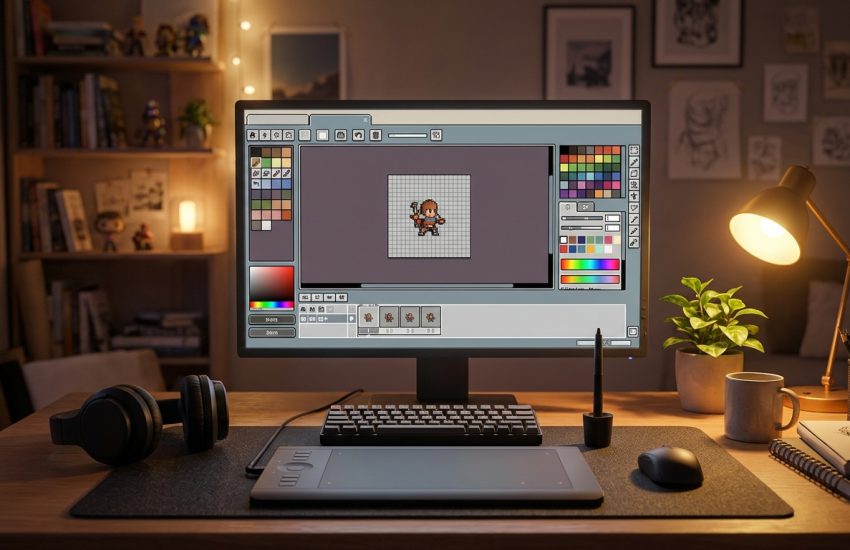
If you want to draw pixel art and animate game sprites, and you want the Aseprite-style workflow without paying for Aseprite, LibreSprite is the free editor that gives it to you. It is a free, open-source program for creating and animating sprites, forked from the last version of Aseprite that was released under the GPL, before Aseprite moved to a paid licence in August 2016. It has the familiar timeline, onion skinning, layers and sprite sheet export, and its binaries are free to download and use. There is no payment, no account and no serial number, and the download from the official project mirror is the complete editor.
This guide explains what LibreSprite is, what it can and cannot do, what your PC needs to run it, and how to download and install it from the official website only. You will also get a first-use walkthrough that takes you from installation to a working result in a few minutes. By the end, you should be able to install LibreSprite on Windows and use it in a real project.
LibreSprite is best for pixel art, sprite animation, and game sprite sheets without paying for Aseprite. Because it is free and legitimate, you do not need a cracked copy or an unknown download site. The official website provides the installer, and the free version is a real, permanent tool, not a short trial.
What Is LibreSprite?
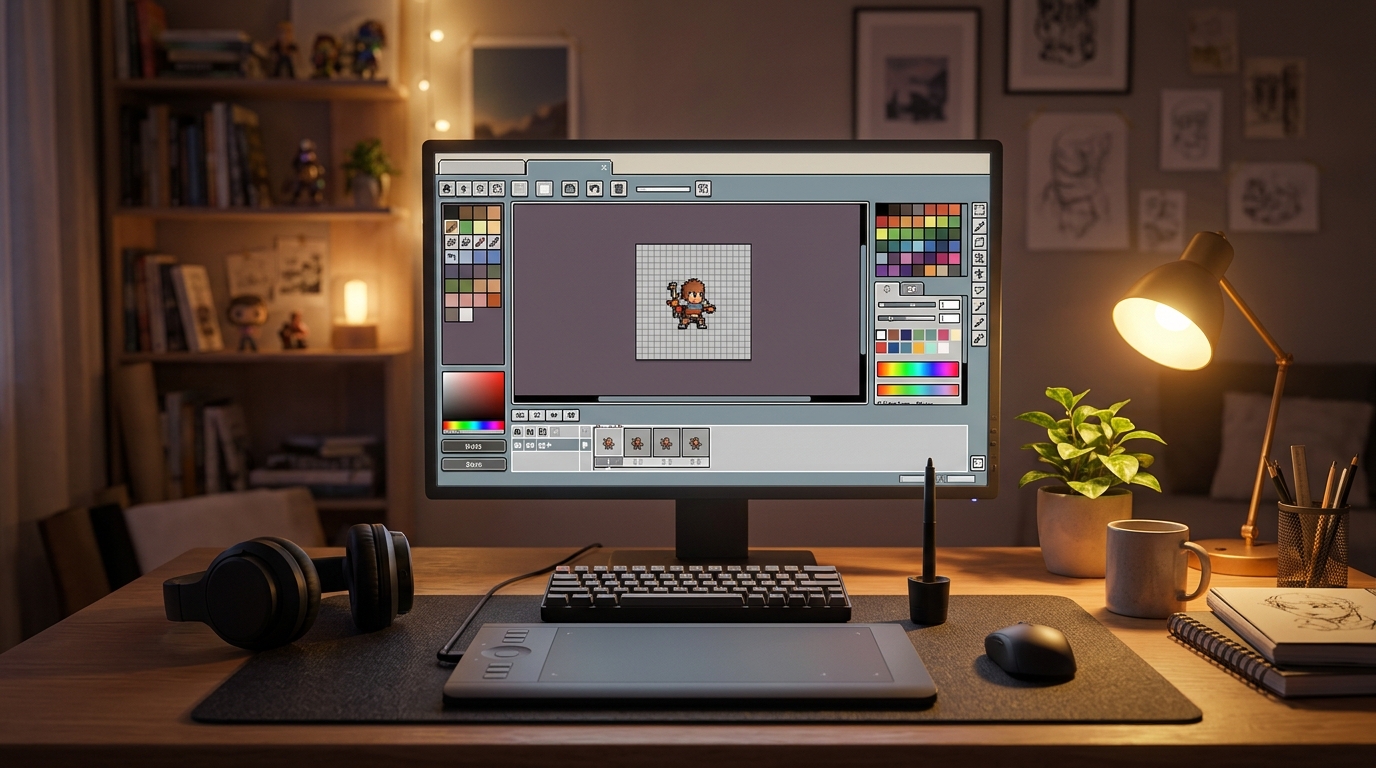
LibreSprite is a free pixel art editor that you install on your PC for making game sprites. In simple terms, it is a program where you draw with pixels on a small canvas, organise your work into layers and frames, preview the animation as it plays, and export the result as a sprite sheet with JSON data that a game engine can read. You open a new sprite, pick a palette, draw frame by frame, and export a finished animation for your game.
What makes LibreSprite useful is that it is the free way to get the Aseprite workflow. If you already know Aseprite, the interface feels familiar, with the same tools, timeline and export dialog, and because it is a GPL fork, its binaries are free to download, use and redistribute, with no paid tier and no licence key. Two honest notes: LibreSprite is based on Aseprite code from 2016, so it lacks the newer features Aseprite added later, such as tilemaps and reference layers, and it moves slowly, with infrequent updates. If you want the newest features, the paid Aseprite is the better choice, but for free pixel art and animation, LibreSprite does the job.
Key Features
- Pixel-precise drawing tools: Pixel-precise tools such as filled contour, polygon and shading mode make clean pixel art.
- Layers and frames: Sprites are built from layers and frames, so you can organise complex animations.
- Onion skinning: Onion skinning shows the previous and next frames faintly, so you can draw smooth motion.
- Animation timeline: A timeline with frame tags and per-frame timing controls the playback of your animation.
- Sprite sheet export: Export a sprite sheet image plus JSON data in Hash or Array format, ready for game engines.
- Tiled drawing mode: Tiled drawing mode is useful for drawing repeating patterns and textures.
- Colour palettes: Built-in palettes and palette editing keep your sprite colours consistent.
- Free and open source: LibreSprite is free and open source under the GPL, with no paid tier and no licence key.
System Requirements
- Operating System: Windows 10 or Windows 11, 64-bit
- Processor: A modern dual-core processor or better
- RAM: At least 4 GB of RAM for basic use
- Storage: Around 200 MB of free disk space for the program and your projects
- Graphics: A graphics card that supports OpenGL, which almost every modern PC has
- Other: A stable internet connection for the download, and a mouse for drawing pixels
These are practical, modern Windows guidelines, not a word-for-word copy of an official specification table. The most important point is simple: LibreSprite is designed for normal Windows PCs, and a modest modern computer is enough to start.
How to Download LibreSprite (Official Method)
The only safe place to download LibreSprite is the official website. Do not download it from random file mirrors or "free download" portals, because those copies may be outdated or bundled with unwanted software. The official site is the source of truth for the current version.
Official download link: https://sourceforge.net/projects/libresprite.mirror/
On the official LibreSprite project page, download the Windows build to your Downloads folder. The project is hosted on GitHub and mirrored on SourceForge, and the download link in this guide points to the SourceForge mirror of the official project. There is no account, serial number or payment involved at any point. If a site asks you to pay for LibreSprite, or offers a cracked version of it, leave that site and return to the official project page.
Step-by-Step Installation
Follow these steps in order. Take your time with the install location and component choices, because those are the steps that most often cause problems later.
- Download LibreSprite from the official project page — Open https://sourceforge.net/projects/libresprite.mirror/ in your browser and download the Windows build.
- Run the installer — Double-click the downloaded installer file and follow the on-screen prompts on your Windows PC.
- Choose the install location — Keep the default install folder unless you have a reason to change it, then note the folder for later.
- Finish the installation — Wait for the installer to finish, then close it.
- Launch LibreSprite — Open LibreSprite from the Start menu and confirm it opens with its pixel art workspace.
- Create a new sprite — Create a new sprite, such as 32 by 32 pixels, to confirm the canvas and tools work.
- Check the export menu — Open the export menu and confirm you can see the sprite sheet export options.
Tip: LibreSprite is based on Aseprite code from 2016, so it lacks newer Aseprite features such as tilemaps and reference layers. If you open a newer Aseprite file in LibreSprite, some features may be lost, so keep your source files in LibreSprite’s own format.
First-Use Walkthrough: Your First Animated Sprite
This walkthrough is a simple first project. It is not a full course, but it will help you see LibreSprite working on a real project and learn its main tools.
- Open LibreSprite and create a sprite — Open the program and create a new sprite, 32 by 32 pixels, with a transparent background.
- Draw the first frame — Use the pencil tool to draw a simple character, such as a small slime, in the first frame.
- Add a second frame — Add a new frame and move the character up by one pixel, to start a bounce.
- Turn on onion skinning — Turn on onion skinning so you can see the first frame faintly while you draw the second.
- Add two more frames — Add two more frames to finish the bounce: one at the top and one back at the start.
- Play the animation — Press play and watch your slime bounce. Adjust the frame timing if it moves too fast or too slow.
- Export a sprite sheet — Export the animation as a sprite sheet with JSON data, ready for your game engine.
Is LibreSprite Free?
LibreSprite is free and open source under the GPL. You download it from the official project page, install it, and use it without paying and without a time limit. There is no paid version of LibreSprite itself, no paid tier and no licence key. Be aware of two honest limits: it is based on Aseprite code from 2016, so it lacks newer Aseprite features such as tilemaps and reference layers, and it is updated infrequently, with long gaps between releases.
That free status is important for this guide. All the steps here use the official download only, and they do not involve cracks, activators or licence keys. If you ever see a site offering a paid or cracked version of the free program, treat it as unsafe and return to the official site.
Frequently Asked Questions
Is LibreSprite safe to download?
Yes, when you download it from the official website only. The official installer is the version made by the developer. Avoid third-party sites that bundle extra software or ask for payment for a free program.
Does LibreSprite work on my Windows PC?
Yes, in most cases. LibreSprite runs on Windows 10 and 11 (64-bit), and the system requirements above cover a normal modern PC. Check the official site for the exact current version if your PC is older.
Is LibreSprite really free, or will it stop working?
The free version described in this guide is not a short trial. It stays usable after installation. There is no paid edition of LibreSprite itself.
Do I need a powerful PC to run LibreSprite?
No, not for basic use. A modern Windows 10 or 11 PC with 4 GB of RAM or more can run it for simple projects. Larger projects with many objects and effects will benefit from more RAM and a faster processor, but you can start and learn on a normal home PC.
Conclusion
LibreSprite is a useful, free addition to a Windows setup because it is a free open-source pixel art and sprite animation editor, a fork of the classic Aseprite, and it can be downloaded safely from the official site. Start with a small first project, learn one tool at a time, and build from there.
To get started, download LibreSprite from the official website here: https://sourceforge.net/projects/libresprite.mirror/ Install it with the steps above, test it once, and then use it in your next project. With a little practice, it can become a regular part of your workflow.
Official download link: https://sourceforge.net/projects/libresprite.mirror/
Related Guides
- GDevelop for PC: How to Download & Install on Windows
- Kenney Shape for PC: How to Download & Install on Windows