 Posted by

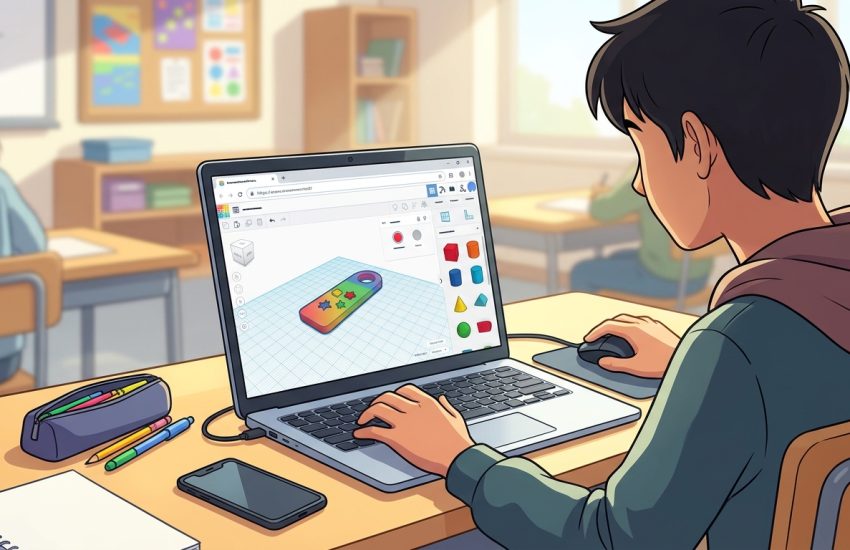
Tinkercad is one of the friendliest ways to start 3D design on a Windows PC, especially if you have never used 3D software before. It is completely free, it is owned by Autodesk, and it is designed for beginners, students, teachers, hobbyists, and anyone who wants to make something for 3D printing without learning a complex professional program first. Before you search for a setup file, there is one important fact to understand clearly: Tinkercad is web-based. It runs entirely in your web browser. There is no Windows installer to download, no setup program to run, and nothing to install on your computer. You open it in Chrome, Edge, Firefox, or another modern browser, sign in with a free Autodesk account, and you can start designing straight away.
What Is Tinkercad?
Tinkercad is a free, browser-based 3D design tool from Autodesk, the company behind well-known professional software such as AutoCAD and Fusion. While those professional tools are made for engineers and experienced designers, Tinkercad is made for people who are just starting. It uses a simple idea: you build models by combining basic shapes such as boxes, cylinders, spheres, cones, and tubes. You drag a shape onto the workplane, move it, resize it, rotate it, and combine it with other shapes to make something new. You can also cut holes by turning a shape into a hole object, which lets you create openings, slots, and hollow parts.
Because the shapes are simple and the controls are visual, you can learn the basics in a single sitting. A student can design a keychain, a phone stand, a small box, or a simple toy. A hobbyist can design a replacement part, a bracket, a cookie cutter, or a custom nameplate. A teacher can use it to show how 3D objects are built from simple forms. The focus is on learning by doing, not on memorizing menus.
Tinkercad is also more than a 3D modeler. The same free Autodesk account gives you access to Circuits, where you can build and simulate simple electronic circuits with components such as LEDs, resistors, batteries, and Arduino boards, and to Codeblocks, where you can create 3D designs using Lego-style block coding. Those extra areas make Tinkercad useful for STEM learning, because one account can cover basic 3D design, simple electronics, and an introduction to coding. You do not need to use Circuits or Codeblocks to enjoy the 3D design area, but they are there when you want to explore further.
It is important to set expectations honestly. Tinkercad is not a replacement for professional CAD software. It does not have the advanced precision tools, complex surfacing, or large assembly features of a paid engineering program. Its strength is simplicity, speed, and accessibility. If you want to design a quick printable object, learn 3D thinking, or teach someone the basics, it is an excellent choice. If you later need advanced engineering work, you can move to a more powerful tool with the basic 3D ideas you learned here.
Key Features
- Completely free 3D design in the browser: Tinkercad costs nothing to use for 3D design, and it runs in a modern web browser on Windows. There is no paid version required to start, and no installer to manage.
- Drag-and-drop basic shapes: Start with simple shapes such as boxes, cylinders, spheres, and cones. Drag them onto the workplane, move them with the mouse, and combine them to build more complex objects step by step.
- Easy hole and grouping tools: Turn any shape into a hole to cut openings, then group shapes together to make a single solid object. This makes it easy to create boxes with lids, rings, brackets, and other useful parts.
- Designed for beginners and students: The interface is clean, the tools are labelled clearly, and the learning curve is gentle. It is widely used in classrooms because students can make something real in their first lesson.
- Built for 3D printing: Export your finished design as STL, OBJ, or SVG for 3D printing and laser cutting. The export options are simple, and the STL format works with most common slicer software.
- Circuits for simple electronics: Build virtual circuits, add LEDs, batteries, switches, and Arduino boards, and test how they behave without buying physical parts. It is a safe way to learn basic electronics.
- Codeblocks for block coding: Use Lego-style coding blocks to generate 3D shapes with code. This is a friendly introduction to programming, because you can see the 3D result of each block change immediately.
- Cloud saving with an Autodesk account: Your designs are saved online to your free Autodesk account. You can open them from another Windows PC or a school computer by signing in with the same account.
System Requirements
Because Tinkercad runs in the browser, there is no traditional Windows installer and no official desktop specification to follow in the usual way. The figures below are practical modern Windows guidance, not an official Autodesk specification table, and they describe what generally gives a smooth experience.
You will need a Windows 10 or Windows 11 PC with a modern web browser such as Google Chrome, Microsoft Edge, or Mozilla Firefox, kept up to date. Chrome is often a good choice for Tinkercad, but Edge and Firefox also work well for most users. A stable internet connection is required, because the app and your saved designs are online. For comfortable use, aim for at least 4 GB of memory, although 8 GB is more comfortable if you keep many browser tabs open, plus a reasonably modern processor and a display of at least 1366 by 768 resolution. A Full HD display makes the workplane and side panels easier to use.
How to Download Tinkercad (Official Method)
There is no Windows installer to download for Tinkercad, and that is by design. The official way to use it is to open the website in your browser and sign in with a free Autodesk account. Do not download a file called Tinkercad from a third-party download site, and do not trust a site that offers a cracked, unlocked, or premium version. The only official link you need is the one below.
Official link: https://www.tinkercad.com/
That link opens the official Tinkercad home page. From there, you can join for free or sign in with your Autodesk account, and then open the 3D Designs area to start a new project. If you are a teacher or a parent setting this up for a student, use the official account options on the same site. For this guide, the website is the product, and the link above is the only access link you need.
Step-by-Step Installation
Because Tinkercad is web-based, these steps replace a traditional installation. Follow them in order, and you will go from no account to your first open design in a few minutes.
- Open the official website: Open Chrome, Edge, or Firefox on your Windows PC and go to https://www.tinkercad.com/. Bookmark this page so you can return to it easily later.
- Create a free Autodesk account: Choose the option to join for free. You can create an Autodesk account with an email address and a secure password, or use the sign-in option offered on the page if you already have one. Complete any email verification step.
- Sign in to Tinkercad: Return to the Tinkercad home page and sign in with your Autodesk account. If you are setting this up for a child, follow the account guidance shown on the official site for young users and use a parent or teacher account where required.
- Open the 3D Designs dashboard: After signing in, open your dashboard and choose the 3D Designs area. This is where your saved designs will appear, and where you can start a new one.
- Create a new design: Choose the option to create a new design. Give it a clear name, such as My First Keychain, so you can find it again later. The workplane will open in the browser.
- Wait for the workplane to load: Let the workplane, shape panel, and top toolbar load fully before you start. If the page looks incomplete, refresh once and sign in again. Do not close the tab while a design is saving.
- Save and check your design: Make a small change, such as dragging a shape onto the workplane, and check that the design saves to your account. It should appear in your dashboard when you return to it.
Tip: Use one Autodesk account for all your Tinkercad designs. If you create a second account by mistake, your designs may appear to be missing, when they are simply saved under the other account. Keep your login details safe, and sign out properly on shared or school computers.
Getting Started: Your First Project in Tinkercad
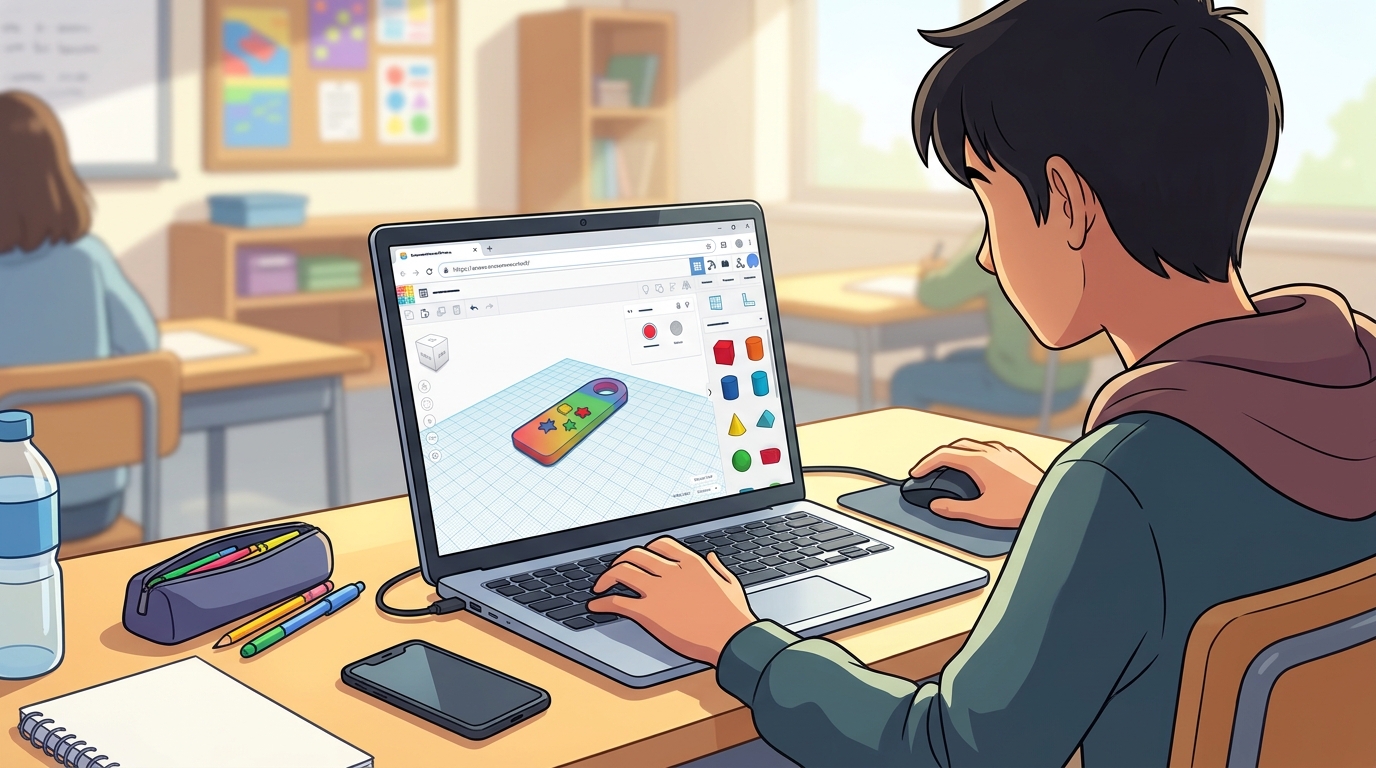
A good first project is a simple name tag or keychain, because it teaches dragging, resizing, grouping, and exporting without becoming confusing. After you create a new design, look at the workplane in the centre of the screen. On the right, you will see the basic shapes panel. Drag a box onto the workplane. You have just placed your first solid. Click the shape to select it, then drag the small white handles on the corners to make it wider, longer, or taller. Drag the black handle on top to change its height. You can also type exact sizes in the shape settings if you want a precise result.
Now drag a cylinder onto the workplane and place it so it overlaps one end of the box. Change the cylinder into a hole using the hole option in the shape settings. When a shape is a hole, it looks transparent, and it will cut through any solid it overlaps after grouping. Select both the box and the cylinder, then choose Group. The cylinder area becomes a round hole through the box, which is exactly what you need for a keyring hole.
Is Tinkercad Free?
Yes, Tinkercad is completely free. It is owned by Autodesk and offered as a free tool for beginners, students, teachers, and hobbyists. You do not need to pay to use the 3D design area, Circuits, or Codeblocks, and you do not need to enter payment details to create a free Autodesk account for Tinkercad. You should not pay a third-party site for access to Tinkercad, and you should not download a supposed premium or unlocked version.
Always create your account through the official Tinkercad website. If a page asks for payment for Tinkercad itself, or asks you to download an installer, you are not on the official free flow. Close that page and return to the official link in this guide.
Frequently Asked Questions
Is Tinkercad safe to download?
Tinkercad is safe to use through the official website at https://www.tinkercad.com/ when you sign in with a free Autodesk account. There is no installer to download, so be careful with any other site that offers a Tinkercad installer, crack, or premium unlock. Those files are not official, and they can contain unwanted software. Use the official link only, keep your browser updated, and use a strong, unique password for your Autodesk account.
Do I need to install Tinkercad on Windows?
No. Tinkercad runs entirely in a modern web browser. You do not need to install it on Windows, and you do not need to download a setup file. You only need a browser, an internet connection, and a free Autodesk account. This also means you can open your saved designs on another computer by signing in with the same account.
Can I use Tinkercad for 3D printing?
Yes. Tinkercad is widely used for simple 3D printing projects. You can export a design as STL, which is the standard format for most slicer software, or as OBJ or SVG for other uses. Keep walls thick enough to print, avoid very small details on your first prints, check the size in your slicer, and test with a small print first.
Is Tinkercad good for kids and students?
Yes, Tinkercad is designed with beginners and students in mind. The drag-and-drop shapes, clear interface, and free access make it a popular choice in schools. Parents and teachers should still follow the official account guidance for young users, supervise sign-in details, and help with saving and exporting until the student is confident.
Conclusion
Tinkercad is a practical, completely free way to start 3D design on a Windows PC without installing software or paying for a licence. Because it is web-based, you can open it in your browser, sign in with a free Autodesk account, and start building with simple drag-and-drop shapes. It is especially good for beginners, students, and hobbyists who want to learn 3D thinking and make simple objects for 3D printing, and it also offers Circuits and Codeblocks when you want to explore electronics and coding.
If you remember one thing from this guide, let it be the access method: there is no Windows installer for Tinkercad. Open the official website, create your free Autodesk account, and work in the browser. Start with a small project such as a keychain, practise grouping and holes, save often, and export an STL file when you are ready to print. You can begin here with the official link: https://www.tinkercad.com/
Related Guides
- Blender for PC: How to Download & Install on Windows
- Meshroom for PC: How to Download & Install on Windows